


Camp Like the Great American Woodsmen of our Time!
The Old Ways
The writings of Horace Kephart, Daniel Beard, and George W. Sears “Nessmuk” had the most significant influence on me over the years, and I consider them some of the greatest forefathers of rustic camping. This style of camp living includes various fire-lays, crafting cooking implements, rigging up open-face shelters, using open fires for warmth and cooking, and using minimal yet effective tools like the ax and knife is all regarded as woodcraft. Horace Kephart put it best in his masterful book Camping and Woodcraft:
“Woodcraft may be defined as the art of finding one’s way in the wilderness and getting along well by utilizing Nature’s storehouse.”
The woodcraft way is not defined by a list of hard and fast rules but more by a set of woods-worthy principles towards our choice of gear and techniques.
Kephart also wrote:
“An old campaigner is known by the simplicity and fitness of his equipment. He carries few ‘fixings’, but every article has been well tested, and it is the best that his purse can afford. He has learned by hard experience how steep are the mountain trails and how tangled the undergrowth and downwood in the primitive forest. He has learned too how to fashion on the spot many substitutes for ‘boughten’ things that we consider necessary at home…Ideal outfitting is to have what we want, when we want it, and not be bothered with anything else.”
The 4 W’s
Selecting a place to camp is a woodsman’s skill. When an established camp or car camp is visited, all the thinking has been done for us. When setting out on an outdoors trip off the beaten path, there must be more consideration on our part as to what we are looking for in a camp.
Water– It has been said by an old woodsman that all man needs to survive in the wilderness is water and tools. It is quite a big statement as it doesn’t encompass the number of skills needed to wield tools, select qualities of wood, understand weather, make proper fires, cook over coals, and what to do with water to make it suitable for us to drink safely. However, it is true. Water is the most crucial element in wilderness living for obvious reasons. Being relatively close to a creek, river, stream, or brook is a must in a woodsman’s camp.
Wood– In a rustic “Indian Camp” (as called by Nessmuk), all cooking over coals or fire requires wood, so it is important to choose a campsite with a ready supply of wood that doesn’t require traveling too far to procure. One must also consider the type of wood, but often we are at the mercy of our surroundings and must make do with whatever materials are available—that is true woodcraft!
Wind– I would say that the wind is the hardest to consider when selecting a campsite out of all the four W’s. Generally, wind travels up the canyon in the day and down the canyon at night. This is great information if you are camping in a canyon, but the rest of the terrain leaves much more up to Mother Nature than we think. Obviously, if we are sleeping in front of an open fire, we want to set our camp up with the fire parallel to the wind to avoid the smoke’s eddying effect.
Widowmakers: Most campers are content with finding a campsite that meets at least three of the four W’s, but neglecting this one can be a matter of life and death. A widowmaker is any dead tree or large branch that has the potential of falling on our camp via wind or decomposition. So—look up!

Shelter Craft
Two very popular styles of shelters in the 1800s and early 1900s are still used today. The lean-to and A-frame shelters, often taught as survival shelters, were used as regular camp shelters along with canvas tarps and tents. The construction of these time-proven fixtures is simple; however, they can take hours.
The lean-to is made with a ridgepole no thinner than your wrist and no thicker than your bicep. It must be lashed to a tree or fixed into a natural crotch of another tree, no higher than your shoulder. Lay a course of broomstick-wrist-thick poles at a 45-degree angle as close together as possible, making sure to have enough length to hang over the ridgepole. Add thinner sticks to fill the cracks and have them be parallel and perpendicular to create catch points for debris. Add debris until no light shines through from the forest ground or boughs from conifers; hemlocks work best.
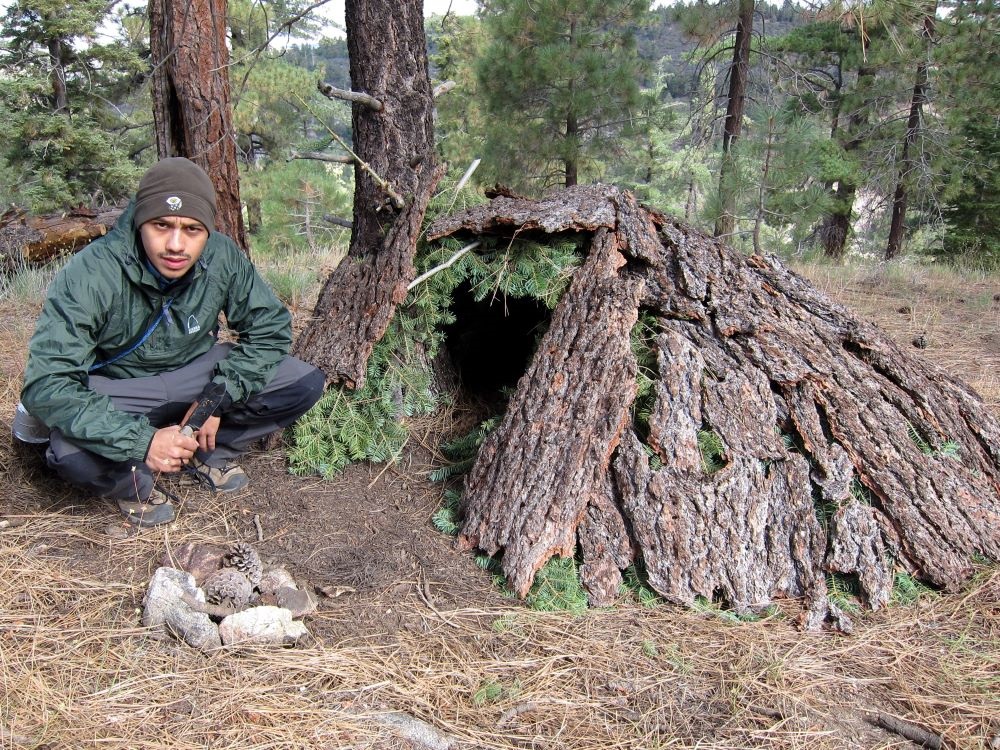
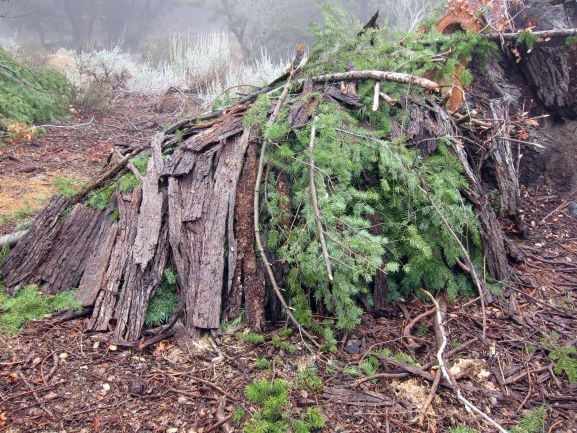
An A-frame shelter uses a ridgepole, about 12-feet long and just as stout as the lean-to. It is propped at an angle with one end on the ground, and the other lashed or placed in a tree crotch. Add thumb-broomstick-thick sticks as ribbing to mimic the ribs of a dinosaur skeleton. Repeat the process with thinner sticks and add debris. Leaves, pine needles, and boughs are the best choice; it all depends on your terrain. Cover until no light can be seen.
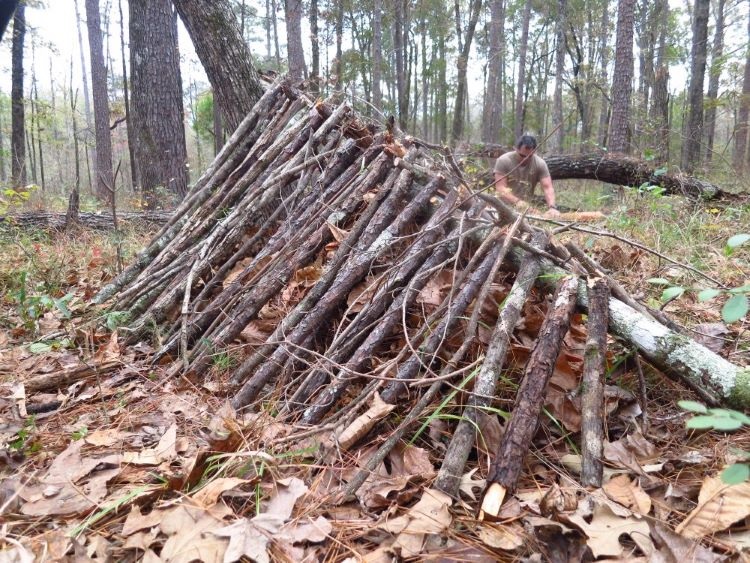
Lastly, each shelter needs to have adequate ground insulation. Pine needles and boughs must be piled high enough to compress down to about 12-inches to be warm enough. This is the part where many go wrong. Like all things made in the wilderness, it’s best to do it right the first time!
Fire-craft
“One glance at a camper’s fire tells what kind of a woodsman he is.”—Horace Kephart: Camping and Woodcraft
There is much truth to this adage. Horace Kephart explains that if a man wants to be comfortable in the woods, he must learn how to produce at will a quick, hot fire that will boil water in a jiffy and will soon burn down to embers for frying; or a solid bed of coals that will keep up a steady, glowing, smokeless heat for baking, roasting, or slow boiling. One must also be able to make a big log fire that will throw its heat forward on the ground and into a lean-to and will last several hours without replenishing.
George Sears Washington, who wrote under the pen name of Nessmuk, often wrote of the campfire’s cheerful, healthful light and warmth. I do feel that Daniel Beard said it best in The Book of Camp-Lore and Woodcraft; he wrote:
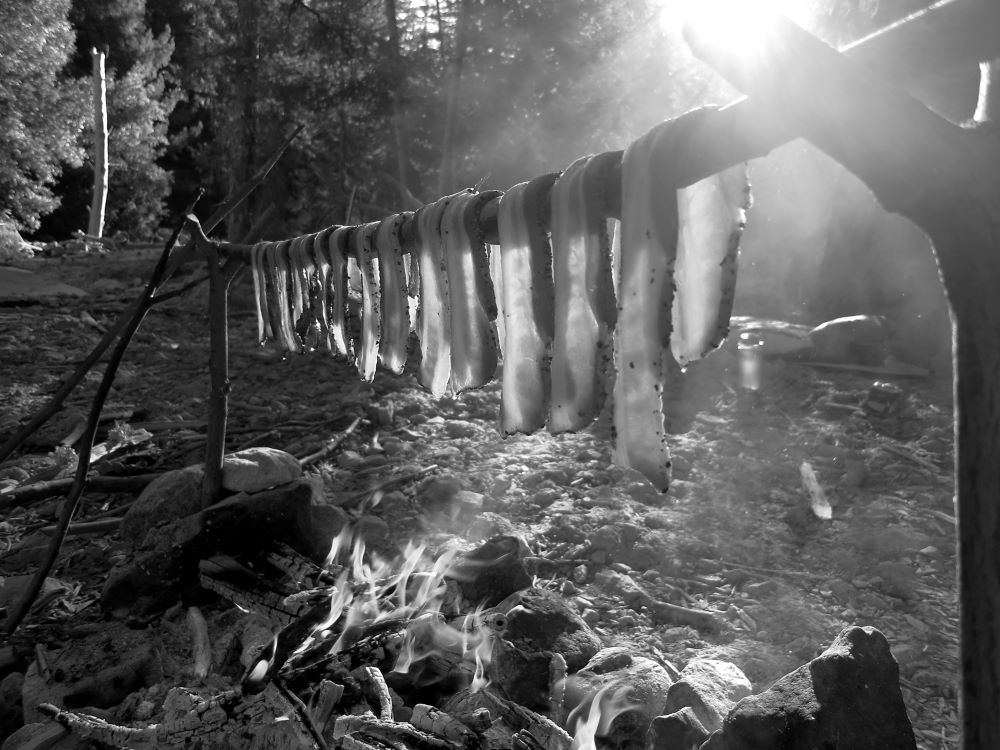
“There is no use talking about it, there is no use arguing about it, there is witchcraft in the smell of the open fire, and all the mysteries and magic of the Arabian Nights dwell in the odor of frying bacon.”
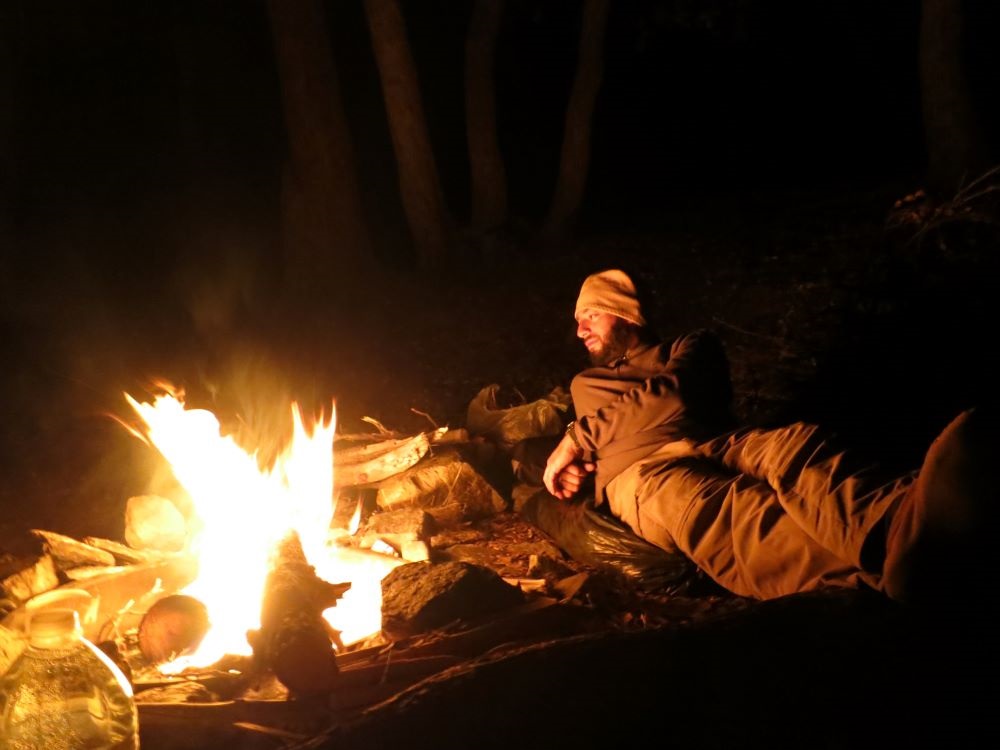
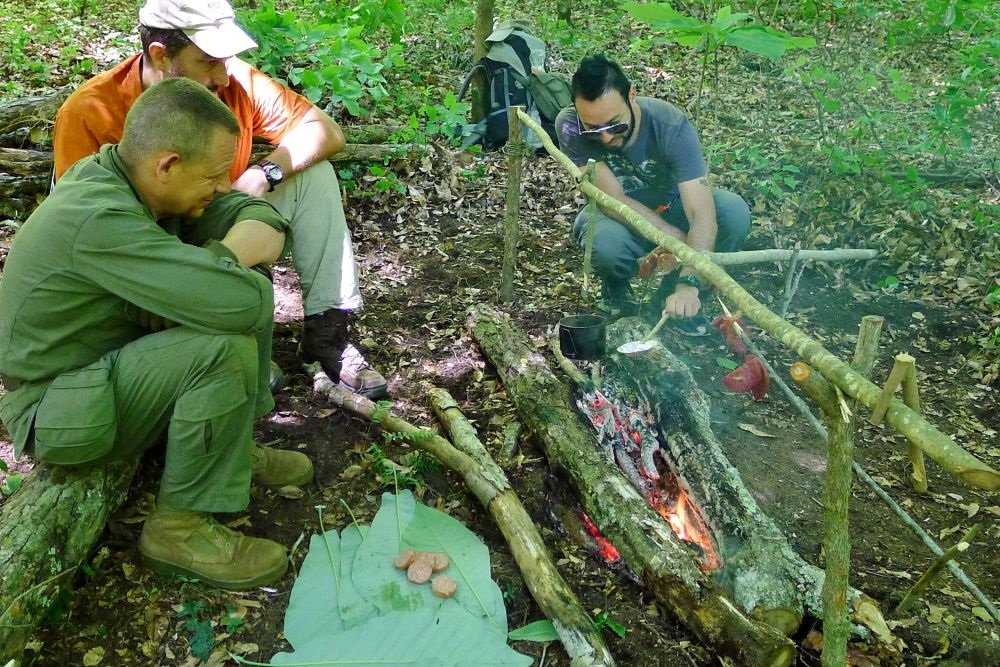
I am from the school of thought that a campfire and cooking set-up is the heart of a happy, successful camp. The following is my most used woodcraft fire set-up for cooking and warmth. Nessmuk considers this type of cooking set-up a Cooking Range; Horace Kephart calls it a Hunter’s Fire. Kephart noted that this type of fire affords a cooking fire with proper supports for utensils and a good long fire for the night afterward. I like to use this style of long fire about 5-6 feet long, using logs about 8-inches thick. I place the logs parallel to the wind with two ends nearly touching and the other end open (V-shaped) to catch the natural draft that will supply air for my fire. The logs can support cooking utensils and cookware and be used as a cutting board.

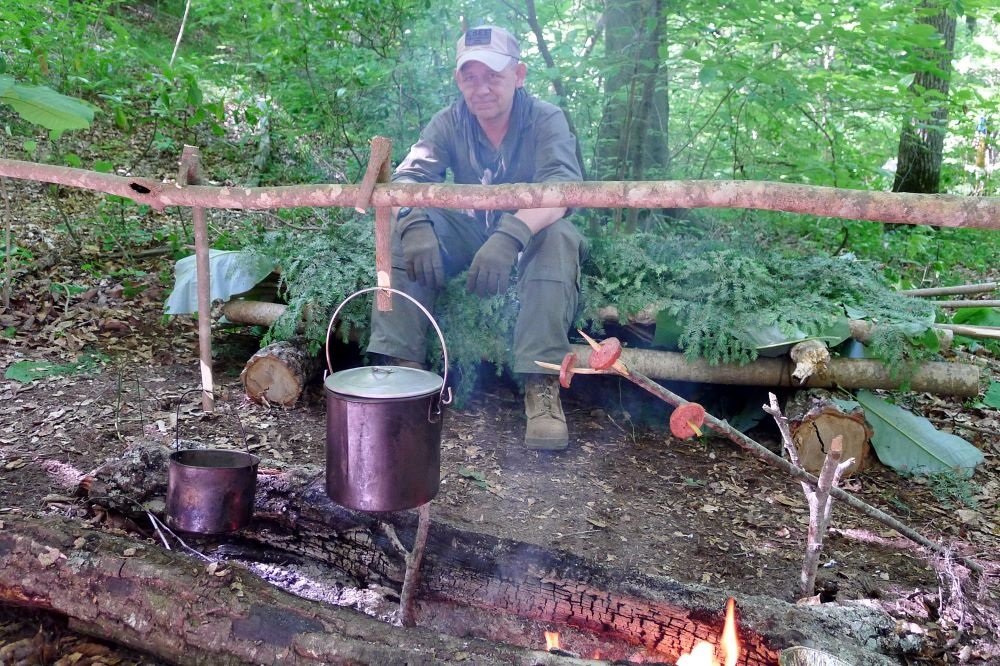
Next, I procured a green, wrist-thick sapling or branch with a natural Y joint about 6 feet long. I cut it in half and ended up with a Y joint and a straight, flat top piece, each 3 feet long. At the ends of my bed logs is where I stuck these pieces. I sharpen the ends to a semi-sharp point for hammering into the ground but use the straight piece without the Y joint for my initial pilot hole to get the hole started. Once I made a decent hole in the ground with the straight piece, I removed it and placed the Y joint in its place. I then hammer the flat piece into the ground at the other end of the logs. At that point, I took my knife and lightly batoned the flat top to create a small split that must be parallel to the Y joint at the other end.
Next, I found a long straight, green pole that is about broom-stick thickness to lay across the Y joint and into the split. Now, if you are reading Daniel Beard, this green support pole is called a waugan stick, but if you are reading Horace Kephart, it’s called a lug-pole. One end of the waugan stick rests in the crotch of the Y joint, while the other end is carved to a flat-head screwdriver shape and wedged into the split.
Cordage lashing could be added right under the split to prevent further splitting down the length. This method takes less work than finding and possibly wasting more green wood than needed to procure the second Y joint. Whatever you choose to call it, Hunter’s Fire or Cooking Range, make it complete by adding pot hooks and call it good!
Continue the Journey
Camping and Woodcraft by Horace Kephart
Camp-Lore and Woodcraft by Daniel C. Beard
Woodcraft and Camping by George Washington “Nessmuk” Sears


