


Making your own wool is not only satisfying now, but it will be a valuable skill that you can use to make clothing for your family or for trade if SHTF. In addition to producing yarn for clothes, shearing is also necessary for the health and well-being of the sheep.
The process is time consuming and physically laborious, but it’s not a difficult task to learn. Mastering the spinning wheel will likely be the most challenging part of this task but with a little practice, you’ll get it.
There are really only five steps to turning fleece into yarn and we’re going to explain each step in a way that will be easy to understand. Before you do anything, you’ll find it helpful in later steps to comb, vacuum, or blow as much debris from the fleece while it’s on the sheep so maybe that should be the first step.
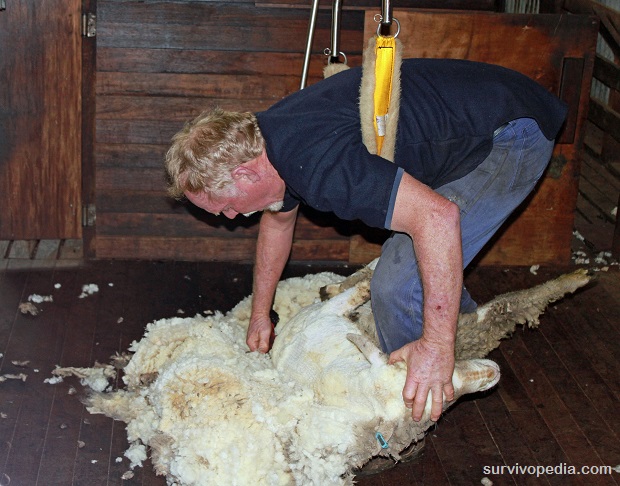
Shearing the Sheep
Obviously, you have to shear the fleece from the sheep in order to process it and spin it into wool, but it’s also good for the sheep. Shearing usually takes place in the early spring before the ewes give birth.
This helps keep her clean during the birthing process and also encourages her to stay somewhere warm in order to protect the lamb should you get a late-spring cold snap. It’s also easier for the lamb to find the teat and early shearing helps keep all sheep cooler in the summer so that they don’t overheat.
Most sheep only need sheared once a year but there are some sheep that with fast-growing wool that you’ll need to shear twice per year. The second shearing should take place in late summer or early fall so that the sheep has at least 6 weeks to grow back enough fleece to keep it warm in summer.
To learn to shear your sheep, the first thing that you should do is get a lesson from an experienced shearer. I realize that this is a DIY wool-making article, but if you don’t know what you’re doing, you can hurt yourself or the sheep, or damage the wool.
You can ask a local, experienced shearer to help you, attend a shearing class if there’s one near you, or in areas where shearing is a popular practice, there may be a central place where local shepherds can take sheep to be sheared by professional shearers.
Preparing the Fleece
In this step, you’ll “skirt” the fleece, which involves cutting out areas that are matted, or are too short or damaged to use. You’ll also remove debris, dirt, and oil from the fleece. This usually takes place on a skirting table, but any table will do.
When you’re shearing the sheep, discard the belly, leg, face, and head fleece. After shearing, lay the wool out on the table and trim off the neck wool, all edges of the fleece, and the sweat locks – the greasy fleece from under and around the tail and legs.
Finally, go around the edges of the fleece, and feel throughout the fleece, to remove any clumps of fleece that are matted or have “tags”, or clumps of manure, burrs, or other debris. Now you’re ready to clean the wool.
Clean the Wool
This is called scouring and is a necessary, though yucky, part of the process. You can do it using your washing machine or you can do it the old fashioned way. I’ll explain both. Whether you’re cleaning the wool the old fashioned way or using your washer, you’ll want to rinse the wool first (do you really want excess sheep poop and debris in the same washer that cleans your underwear and face cloths?)
You’ll need a wool washing table. This is simply a screened table with a screen top instead of a solid one. Rabbit mesh screen (1/4-inch wire mesh) works wonderfully. You’ll also need a hose and a large, sturdy plastic tub. It needs to be big enough to hold the fleece and water.
Fill the tub about 2/3 of the way full of water and then divide the fleece into 2 or three workable parts. Put the first part in the tub. You can let it soak for a bit if you want, up to several hours. Then dunk it several times in the water – SWISH, not oscillate!
Drain the water and remove the fleece. Squeeze what water you can out, then press it against the screen to get more out. Repeat this process again to get the extra debris out. Now you’re ready to wash it, if you’re happy that it’s clean enough to go in your washer.
If you’re using a washing machine, only use it as the tub during the cleaning process – don’t agitate it. Put the wool in mesh bags with zippers. Fill the machine with HOT water and laundry or animal soap, then add the bags of fleece. If you have really greasy wool (lots of lanolin), you may want to add 3/4 cup soda ash to the first wash when you add the water and soap.
Push the fleece down gently into the water a few times, then let it sit for 20 minutes or so. Don’t let the water cool down or the lanolin will re-set in the wool. If you used soda ash, don’t let it sit for more than 20 minutes because the acidity of the soda will damage the wool.
Use the spin cycle to get the water out of the wool. If it still appears dirty, do another wash cycle, then do a rinse cycle with only clean, hot water. If the fleece is clean after the first wash, just do two 20-minute rinse cycles, spinning dry. If it still smells like lanolin, you need to wash it again because the fleece will become stiff and a bit sticky after a few months and you won’t be able to card it.
Remove the wool from the bags and spread on towels or a screened table, then let it dry overnight. It’s ready to bag, or card.
The only main difference if you’re doing it the old fashioned way is that you’ll be using hot water in the tub that you used to rinse in, and you’ll be squeezing the water out of the fleece in the same manner as when you were rinsing it. Everything else is the same.
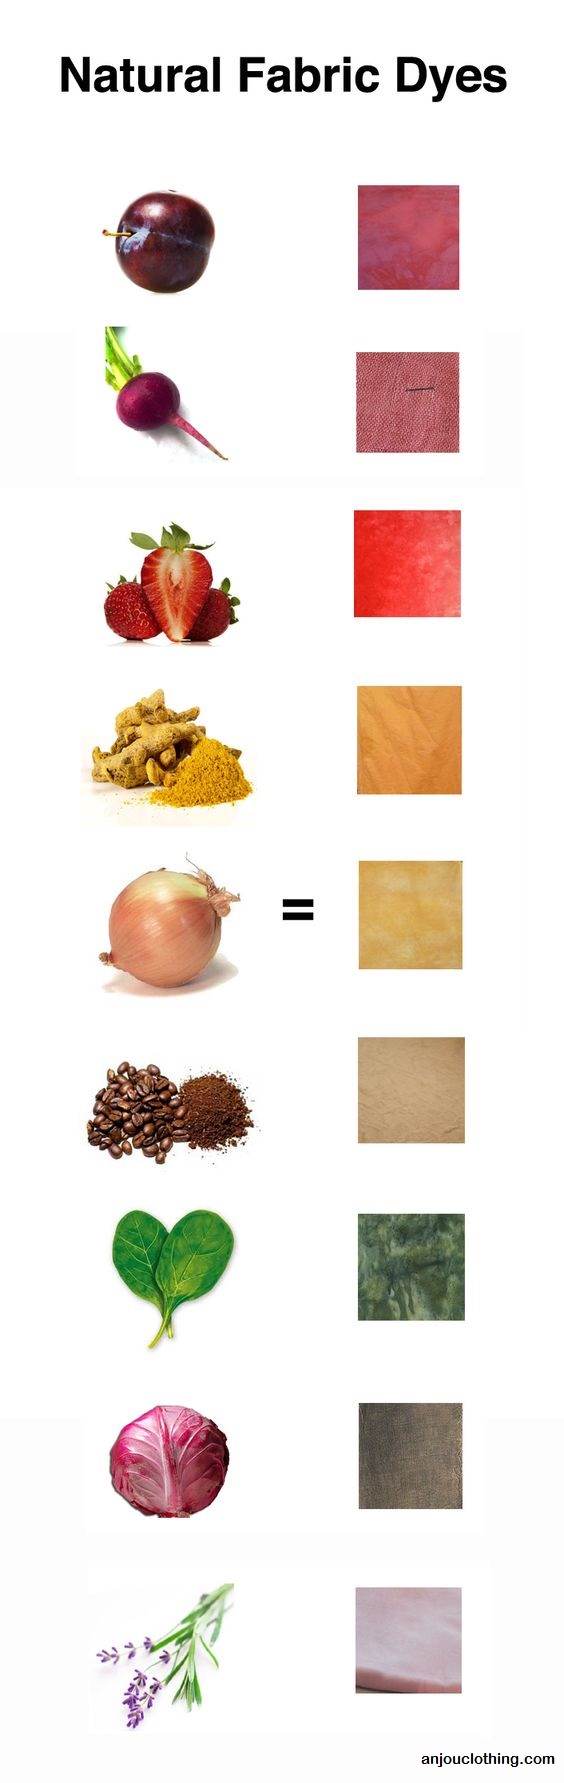
If you wish to dye your wool, now would be the time to do it. For now, though, we’re just going to work with natural colors.
Carding the Fleece
In this step, you’re fluffing the fleece by separating the fibers in order to get it ready to spin into yarn. You can use carding paddles or a simple dog comb. There is a machine that you can use to card it, too, but for the sake of simplicity, we’ll stick with the dog comb.
Lay out a piece of the clean, dry fleece, hold it with one hand and comb through it with the other hand, which will make it fluffy and will align most of the fibers so that they’re facing the same general direction. Don’t overwork it; just get the fibers picked apart so that you have a bit of fluffy, pretty “carded wool”.
There’s also a way to make the wool line up so that all the fibers are facing the same directions, and this is called “worsted wool”.
From here, things can go in a few different directions. To simplify, you can either use the roving or batting methods. For today, we’re going to use the roving method.
Roving
Roving is the final step before spinning. In this step, the wool is divided into small, even strips called pencil rovings that are collected on large spools. There are machines that do this for you, but you can DIY using what’s called a diz, a piece of plastic, wood or metal that has a small hole in it.
The home DIY way? Use a spice lid – the type with the holes in it. Push a piece of your carded wool through the hole and pull it gently through the hole (a knitting needle may help you get it started), making thin, fragile strips.
Before you pull it all the way through, overlay another bit of combed wool with the end of the one that you’re working. Wind this onto a paper or cardboard (or wooden) spindle as you pull it through, or wind it into a ball.
The thicker the roving, the thicker your yarn. As you become more experienced at spinning, you’ll also learn to adjust the thickness of your roving.
Video first seen on Spinning My Wheels – Leading a Warped Life.
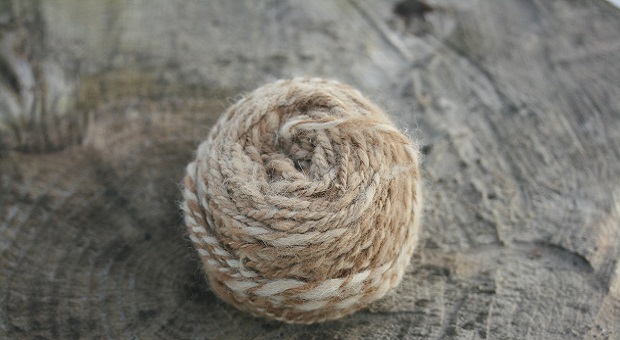
Spinning the Roving into Yarn
Spinning is the last, or next to the last, step in making yarn. I say possibly the next to the last because the single-ply yarn may not be strong enough to suit your needs and you may want to use a plyer to twist two or more strands together to make thicker strands.
There are several ways to spin your wool because there are a number of different types of spinning wheels. Probably the easiest to use for beginners is a drop spindle, but whatever spinner you choose changes this process, so we’re going to leave it here. You have rovings that are ready to be spun into yarn, collected onto spools, and crafted into useful items – yay!!
Finishing
After you’ve spun your wool into yarn, you’ll need to finish the wool. Since there are a number of ways to do this, you can choose the method that you prefer. Finishing sets the twist, which allows the fibers to open up. It can be done before you spin the yarn into its final product, or after you’ve created your shirt, socks, cloth, or whatever.
Now that you know how to go from sheep to sweater, you possess a skill that will be useful to you either as a crafter or as a prepper. If SHTF, you’ll know how to make clothing for your family and will have valuable knowledge or product to use in trade.
If I’ve left anything out of this article or you have anything else that you’d like to add, please feel free to do it in the comments section below!
And click on the banner below to discover more homesteading secrets that our ancestors used on daily basis.

This article has been written by Theresa Crouse for Survivopedia.


I think that this process is called “slubbing”, at least in England, and used to be a skilled craft in commercial worsted mills.
How do you make a sweater? Just kidding. Thanks for the article! (If/when getting to it, will link to this. I’m looking into homesteading.)