


During an emergency or when disaster strikes, the assurance of clean water becomes a significant concern for you and yours. Regardless if it’s a natural or artificial disaster, you must do everything possible to procure, treat and use water as efficiently as possible.
The lack of water might not seem such a big concern to some folks because they believe storing food, ammo, and having a bug-out bag and vehicle ready is more important. After all, water is always available, and there’s plenty of it all around us. Right?
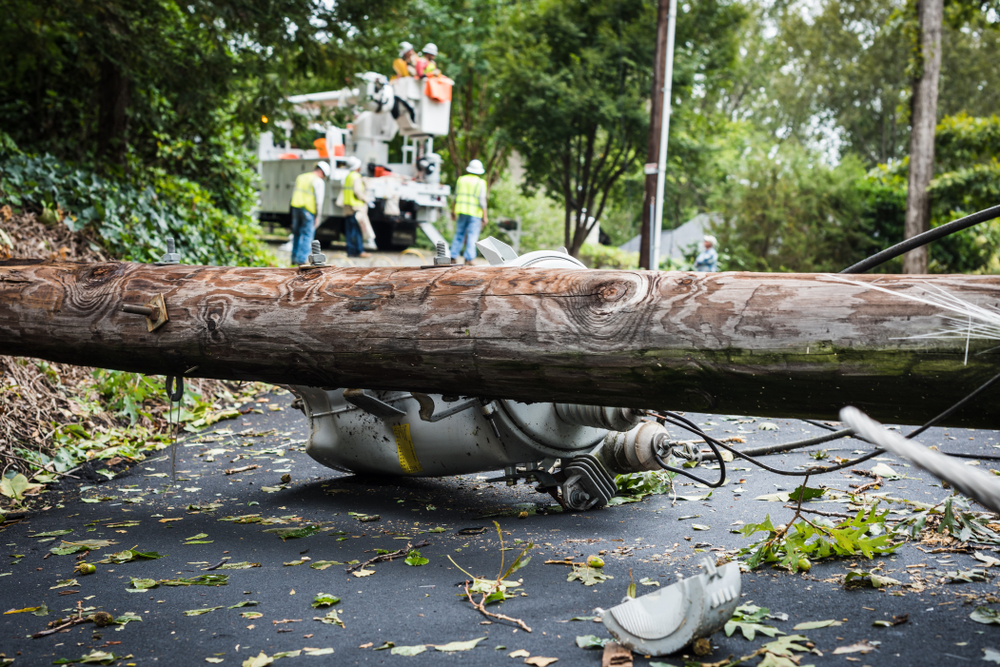
Well, there wasn’t plenty of it for the people affected by Hurricane Katrina and Sandy or for Californians during last year’s blackout.
You probably have a bug-out bag ready, a pantry full of food, and a lot of gear stacked neatly on shelves in your basement, but do you have a water management plan?
Some smart ass will say that everyone knows how to store bottled water and should buy a good supply of it. Well, you should, but a water management plan is more than that. You need to be able and procure water regardless if you’re in a rural or urban environment, you need to have ways to treat the water and make it potable, and lastly, you need to figure out ways of storing and transporting the water.

Seeing that FEMA recommends having one gallon of water per day per person to use for drinking, cooking, and sanitation, you might realize that your water needs grow exponentially if you’re part of a big family. For example, a family of four will need 28 gallons of water to survive for one week. And to create a mental image for that water requirement, it will mean having up to 53 2-liter bottles readily available just for one week.
And if you have storage space available, that might not seem such a big problem as long as you have ways of procuring the water, but what about bugging out? If you’re forced to evacuate, you will need to carry more than 200 pounds of water to keep your family alive for a week. And hauling that much weight isn’t easy, especially if you have to rely on your and your family’s strength once your car breaks down.
So, you see why having a water management plan is mandatory if you are preparing for an uncertain future. When you set up your plan, your choices will be centered around those mentioned above three key concerns: acquisition, treatment, and storage/transportation. Let’s look more into it.
Acquisition
Here, the solution is simple, and you have two options: buy commercially “purified” water or bottle tap water and call it a day. It sounds good in theory, but it also depends on your budget and storage limitation. You will need to spend money to buy bottled water, or you will need to buy plastic containers to store tap water once you’ve gone through the soda bottles you’ve been stashing.
And this is all fine and dandy if you prepare now, in times of peace and tranquility (sort of, with the pandemic and all), but what happens if you go through your stored water supply during an extended disaster or if a crisis catches you unprepared. In those cases, you will have to procure water from whatever sources you can locate.
Most folks will start in their homes and use any available drop of water they can find by emptying the water heater and exploiting whatever other item holds water in their home.
Some will use the water from their pool or the rainwater they’ve collected for their gardening chores. In contrast, others will explore the neighborhood to buy whatever bottled water is left or to map potable water sources while trying to stay ahead of the competition. Some would use municipal water sources that may still hold water, such as hydrants or spigots from various public places, unless someone else got to use them first.
And depending on the season and the region you live in, there could be many water sources available, but even so, you must assume your water sources are contaminated. This may be especially true if you aren’t collecting it from a flowing water source.
How about if you are forced to bug out?
In that case, for the safety of your loved ones, you must assume that every natural water source may be compromised. You may be lucky enough to discover a natural water source, and once you do so, it’s time you take care of the second key factor, treatment.
Treatment
If you manage to collect enough water to meet your needs, you must make sure your water is potable and safe for cooking or your hygiene needs. There are various ways to treat the water; however, none of the methods available to the average Joe will make it completely pure.
You can make sure the water you obtained is as clean as possible by subjecting it to various treatment methods. Your goal is to make water safe and reduce the risk of health issues associated with bacteria, viruses, protozoa, and dissolved chemicals. Essentially, your treated water needs to be tasteless and odorless. Let’s look at some viable options you have for water treatment.
Filtration
This is the most used and perhaps familiar method for preppers and the average Joe. You have various options to choose from here, and the water filtration items range from the portable personal straw-like filter, like LifeStraw, to water filter systems like the ones made by Berkey.
There are all sorts of options available nowadays, and they all function more or less the same. Dirty water comes in through one end, it goes through various types of materials and filters, and it comes out the other end cleaner and potable.
Now, what type of filters you decide to include in your water management plant depends mainly on what level of contamination you expect to deal with in your region. The more contaminated the water, the more complex (and perhaps expensive) filter you will need.
Some folks will run water through a coffee filter or a few layers of cheesecloth and call it a day. However, in those cases, it mostly depends on where they got that water from. Some filters use more dense media than those improvised filters to keep out bacteria and microbes. Other filters have activated charcoal layers incorporated to improve the taste and filter out chemicals.
Filtering the collected water is the first step in the treatment stage of your water management plan, and some folks will go even further.
UV-light treatment
Municipal water treatment facilities use UV light treatment to kill protozoa, viruses, and bacteria. This cool and modern technology is also available on a smaller scale to everyone, and it’s even lightweight and portable. These devices are simple enough to be used by everyone.
They consist of a container you fill with water and a device that emits UV light inserted into the water. In theory, the amount of UV light emitted by the device for a specific amount of time will kill bacteria and microbes (by breaking up their DNA) in that particular volume of water.
Some folks will use these UV light devices even for the water they’ve filtered using whatever commercial water filter they have available. It’s sort of like a backup solution if you will.
Boiling
This is perhaps the primary water treatment method that people resort to (instinctively, I must say) when they need to make their water potable. It’s deeply embedded in the back of their mind, and they found about it at some point throughout their lives from movies, from local authorities and magazines, and so on.
Someone told them that it’s the right thing to do, and it’s the primary method they’re using to make sure their water is safe to drink. Now don’t get me wrong, I’m not saying that’s not a thing you should do. On the contrary, boiling water kills most bacteria and other microbes and is perhaps the safest treatment method.
All you need to do is just put your water in a large pot, bring it to a boil, boil it for at least 2 minutes, and that’s it. Once the water cools, you can transfer to a clean recipient, and your water needs are covered for the day.
However, consider that boiling water cannot remove toxic metals and certain impurities while killing viruses and bacteria. Also, this is a time-consuming method. It would help if you considered certain limitations, such as the volume of water you can boil (limited by the container you are using) and the availability of a water source and fuel.
Distillation
This is a method that many believe to be the best when it comes to water treatment, and it’s cheaper compared to other options since you don’t need much to improvise a distilling system.
Sure, there are water distillation systems that you can buy, but you can also create a mobile water distiller in case needed. And I’m not talking here about using copper tubbing and all sorts of still designs to start a moonshine business. It’s much simpler than that.
You can use a small pressure cooker and a ¼-inch stainless steel tube bent into a U or a hook shape to improvise a water distillation system.
Here’s how to do it:
1. Drill a hole into the lid of the pressure cooker.
2. Pour the water you’ve filtered or boiled into the pot and seal the lid tightly
3. Insert the stainless-steel tube in the hole you drilled, ensuring it’s a tight fit. The tube should extend away from the pressure cooker and slope down into a clean recipient of your choice.
4. Use some duct tape to seal the pressure cooker hole and tubbing in place.
5. Bring the water to a boil, and soon enough, the steam will rise into the tube, and as it condenses, it will drip down into the container below.
For this method, you also have to keep in mind that it’s very time-consuming and requires a lot of fuel to obtain a limited quantity of water.
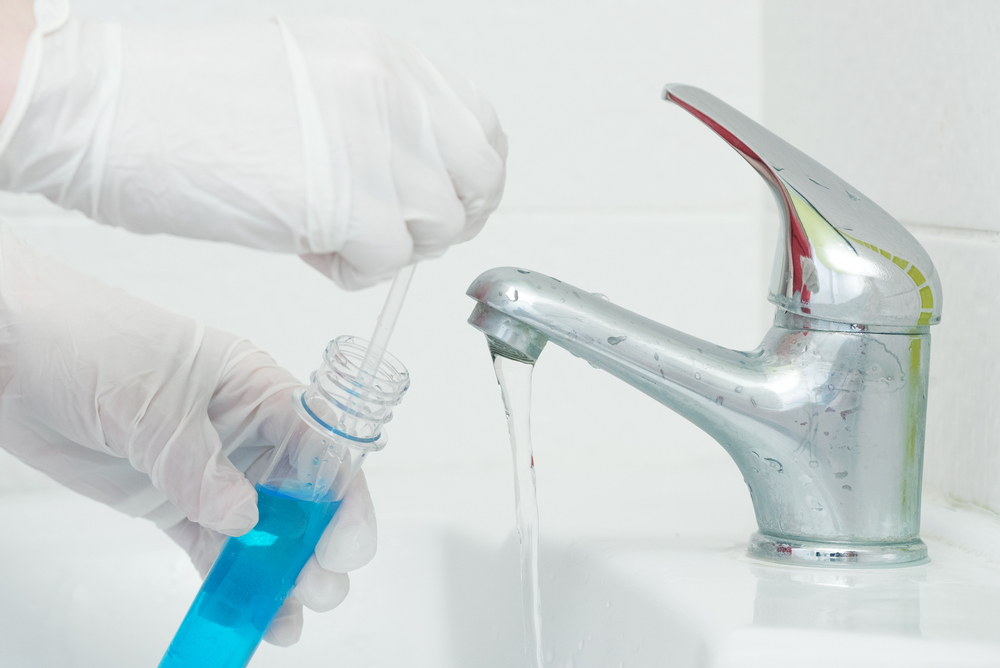
Chlorination
This water treatment method has been advertised and encouraged in the prepping community in the last two decades. And in fact, this method works, and it’s pretty much safe if you don’t use scented or color-safe bleach or a mix of bleach and other cleaners. Instead, FEMA recommends using bleach (only simple bleach) containing 5.25 to 6.0 percent sodium hypochlorite.
If you have that type of bleach and if you want to use this method for making your water potable, remember the following:
1. Use 1/8 of a bleach teaspoon for each gallon of water.
2. Stir well and let the water stand for 30 minutes.
3. After 30 minutes or less, the water should have a slightly distinctive chlorine smell.
4. If that’s not the case, you can add another 1/8 of a spoon and wait another 30 minutes.
5. If the water still doesn’t smell like chlorine, discard the water and avoid using that water source. Find another source of water and try again.
Another alternative to chlorination will be to use water purification tablets. These are sold commercially and are not expensive. They work similarly to bleach, although the chemical process is different. They contain certain chemicals that cause an oxidation process, killing bacteria and other invisible critters.
Storage and transportation
Once you figure out how to procure and treat your water, you must deal with various storage and transportation problems. The main problem being that water is bulky and heavy.
You may find different ways of storing it if you have enough available space and various containers you can use. You can use anything from 2-liter soda bottles to 55-gallon drums and pretty much any container you can get your hands on. However, what happens when you have to evacuate, and mobility is your crucial consideration?
If you need to bug out, you should concentrate more on carrying the items that would help you collect and purify water rather than hauling your entire water supply. You can fill your truck with a few gallons of water (or more if you have the space) to last your family for 2-3 days, but you should figure out how to obtain water and purify it once you reach your destination or even before you reach it.
This requires a little bit of research on your side, and you need to map water sources regardless if you would obtain your water from grocery stores, gas stations, municipal parks, or natural water sources.
And regarding the natural water sources, keep in mind that you will need to carry water back to the campsite from a nearby lake or stream if you don’t set up your camp near that water source. There are all sorts of collapsible buckets, plastic bags, and other items that you can use to collect water, so make sure you have something available. Oh, and don’t throw away the water bottles you’ve emptied because those can be refiled and used for storing all the water you manage to purify.
Another thing to remember when handling your water is to have separate containers for clean and dirty water, to avoid cross-contamination. Everyone should use the containers for what they’re intended to be used because the water is only as clean as the container it’s stored in.
Concluding
As you can see, having a water management plant becomes mandatory regardless if you plan on hunkering down or bugging out during a disaster. You also need to figure out other things, depending on several factors such as family size and needs, living area, time of the year, and types of disasters you are prepping for. Make sure you take everything into account when building your water management plan.


We live in the Philippines and lived through the 7.2 magnitude earthquake on Bohol Island in October 2013. That knocked down many buildings, collapsed all the old Spanish churches and demolished many bridges. Fortunately our house survived, as it was built by a seaman to a high standard (many Filipinos are seamen and they are rich by local standards when returning home) . The first thing we did after the shaking stopped was to fill every available container with water, including some 200 Liter plastic water tanks (ex local Pepsi Cola factory stock) that were on hand. For the next four months we had continual power disruption, sometimes for a week at a time, so the municipal water supply was very erratic and we ended up collecting and using rainwater. It was fortunate that all this happened in the rainy season and not in March-April when it does not rain for weeks at a time. The rainwater was filtered using a stand alone twin-tank unit with a top reservoir that allows the water to flow down through a silverised ceramic filter into the bottom tank. These types of water filters are available in many hardware shops and are very versatile. If you buy one then it is best to get a unit where you can see through the side as to how much water is inside. If you cannot see the level of the bottom tank then you do not know how much to add into the top tank to replenish the stock and if you add too much water the bottom tank will consequently overflow. Non-scented domestic bleach served to disinfect the filtered water, but you must operate on a batch system and so need several 20 Liter portable tanks that can have bleach added at the right amount for that particular volume of water. One other major observation was that the earthquake lifted all the sediment in the water supply pipes and when using the municipal supply it very quickly clogged up our permanent wall-mounted kitchen filters.
We moved to a rural area where our local supply is from a spring, but during the 2019 elections the water pump broke and the local administration could not replace or repair it for about 2 months, as all government expenditure is put on hold during elections as an anti-corruption measure. Fortunately, we had already installed a rainwater collection system, but this outage happened during the dry season, so rainwater collection meant we had to be out with tarpaulins (as collection sheets) and buckets as soon as the weather changed.
Water realy is the stuff of life and trying to get it when the SHTF is absolutely no joke. Keep up the good work Survivopedia.
If you read my detailed commentary to the previous articles (2) you will already know . . . All you need is a avg. sized “activated” Charcoal filter (fine granules) to run your process water through (FIRST). This will remove better than 95% of the dangerous (deadly over time) – Inorganic metallic compounds (oxides and carbonates) – AND the Organic Chemical compounds (and elements) – from Both naturally occurring and Industrial / Agri. sources. Change the carbon granules on a regular basis. SECOND is your Boiled Distillate system (still) using Only copper tubing. This will destroy ALL Living organisms and their residue. Thats it !