
Ink is the stuff that comes from the end of your pen, right? Most of us don’t give much thought to it, but if SHTF and the entire world shifts off the grid, we’re going to have to come up with ways to make the written word, well, written.
Thankfully, our ancestors already did that for us. After all, writing was around for eons before ball-point pens were invented. Surprisingly, making ink at home is fairly easy and you probably have most of the ingredients in the house or the yard.
At its core, ink is just watered down paint. They contain basically the same ingredients: a pigment, a binder, a mordant (enhances the color and keeps it from fading), and a preservative, though the last isn’t strictly necessary.
These sound all chemically but they’re really not. If you’re in a rush, all you really need is the pigment and a bit of water if the pigment is too thick to write with.
The thing to remember when making ink is that you need to add something so that the color holds. Otherwise, it will turn brown or disappear altogether. If you’ve ever tie-dyed a shirt, you know this. Vinegar is the cheapest option, and it’s readily available and extremely effective.
You also need a preservative, as these inks are made from natural ingredients. Salt works just wonderfully.
At the end of this article, we’ll also touch on items that you can use to make a quill, or writing utensil. After all, finger painting is fun, but it’s extremely messy and produces only large, fat, awkward letters. Remember those beautifully-written calligraphy letters that you see in old documents? You can do that, too. As a matter of fact, I used a calligraphy pen to make my friend’s wedding announcement and it was, if I do say so myself, charming and unique.
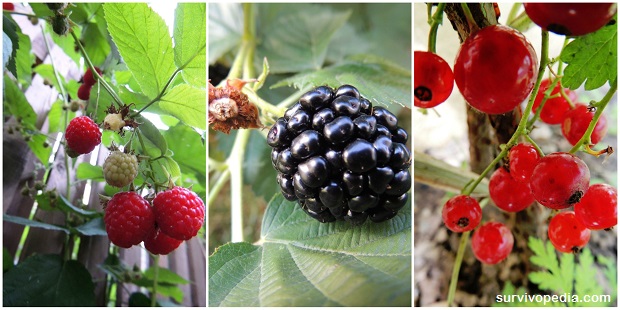
Berry Ink
Remember when you were a kid and you’d squish berries so that you could play cowboys and Indians or just mess up your little sister’s arm? Well, that basic theory is what you’ll be using to make this type of ink.
 Berry Ink Recipe
This one’s crazy simple and you have everything you need right in your house, as long as you have a bag of berries, or a bush outside. As a matter of fact, it’s so easy that it’s a good project for the kids. What color berries you have will determine the color of ink that you get.
- 1/2 cup fresh or frozen, thawed berries
- 1/2 tsp vinegar
- 1/2 tsp table salt
Place a fine-meshed strainer over a bowl. Put the berries in the strainer and squish them, pushing the juice through into the container. Mash them well so that you get all of the juice out. Add the vinegar and salt and stir well so that the salt dissolves. Store in a small glass container with a lid such as a baby food jar.
Walnut Ink
This one is a bit more labor-intensive and will require the help of an adult because there’s some banging and cooking involved. You want ripe walnuts for this project so that you get the darker colored ink. You can even use nuts and leaves.
- 12 walnut shells
- 1/4 tsp vinegar
- 1/4 tsp salt
- 1 1/4 cup water
Crush the shells of the walnuts by putting them in a sock or plastic bag, then tapping them with hammer. You don’t have to beat them too hard; just enough to get them in small pieces, though if you get it into a powder, that’s even better.
Put the shells into a saucepan and cover with the water. Simmer on low for 30 minutes, adding a bit more water if necessary to keep the pan from going dry. Remove from heat and pour into a bowl. Refrigerate overnight.
Place a fine-mesh strainer over a small bowl and pour the mixture through the strainer. Add the vinegar and salt and stir well to dissolve the salt. This may be easier if you allow the mixture to warm up to room temperature before you add the salt. Store in a glass jar with a lid, such as a baby food jar.
Invisible Ink
This is a fun way to make the kids think you’re magic, or to get a secret message to somebody if you need to. The sugars in the lemon juice brown faster than the other ingredients in the paper, making your message appear only when the paper is heated.
- 1 tbsp. lemon juice
- 1 Q-tip
Dip the Q-tip in the lemon juice and write your message on the paper. Once dried, it won’t be visible on the paper. It doesn’t take much; you don’t have to saturate the paper. Just writing the message once will be good enough as long as the message is short. This is fun to draw pictures with, as well.
Give the paper a couple of minutes to dry then hold it over the toaster. The juice browns faster and you’re invisible message or picture will “magically” appear!
Coffee Bean Ink
Coffee beans make a great ink pigment. Grind the coffee beans (or use a dark espresso powder and you have your pigment.
- 1/2 cup ground coffee
- 4 cups water
- 1 tsp vinegar
- 1 tsp salt
Put the coffee and water in a pot and simmer on low for an hour. Remove from heat and allow to steep overnight. This step isn’t necessary but the longer it steeps, the darker your ink will be.
Strain the ink through a fine-screened sieve and return to stove.
Simmer the ink on low until it reaches desired consistency and color. Add the vinegar and salt to lock the color in. You should have about 1 cup of ink when you’re done. Store in a small glass jar with a lid, such as baby food jar.
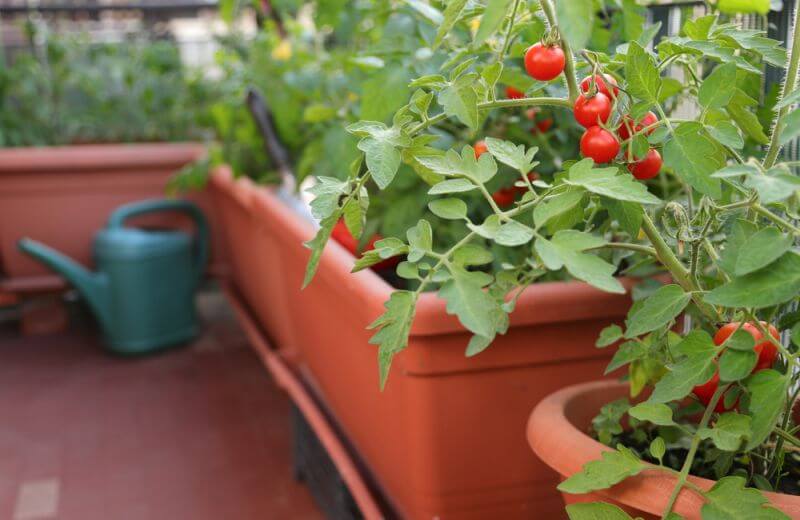
Herbal and Plant Inks
Herbs and plants make wonderful inks and can give you a nice array of colors, too. The premise is the same as that of coffee beans or walnut shells. Just grind a cup full of your favorite herbs and then boil as you would the coffee beans.
The rest of the process is exactly the same. Imagine the beautiful range of colors that you can make with dandelions, roses, tulips, bright green leaves, tea leaves, clover flowers, carnations, lilies, orchids, or any other herb or plant that you can imagine. Don’t forget to lock the colors in with the vinegar and salt.
Or you could use the remains of your barbeque to make your own conductive ink, like this guy from the following video did:
Video first seen on Makerboat.
What About Writing Utensils?
To make a writing utensil, you can use bamboo or a stick. Sharpen the tip down and then soak it in water for several minutes so that the ink won’t absorb up into the wood before you get to work with it.
Since you may live on a farm, this is another great use of turkey or chicken feathers. Any feather with a quill sturdy enough to write with is effective. Stick the quill in hot sand or store it in rice for a few days so that the mixture absorbs the moisture and makes it sturdy enough to sharpen with your knife. Feathers that have been off the bird for a few days are likely already sturdy enough to trim into a sharp point.
Making ink and quills at home is both fun and useful. It’s also a good way to get the kids to think outside the box. There are also minerals, bugs and other elements that you can add to the ink (or use for ink) such as iron, cobalt, ashes and charcoal that will alter the color. Iron, for instance, makes your ink browner. The easiest way to use this is to add a piece of steel wool into your ink solution at the beginning of the process. Just remember to remove it when you strain the rest of the ingredients.
Now that you know how to make ink at home, go have fun with it! It’s a great way to have fun with the kids, or to just entertain yourself. Learn calligraphy if you want; it’s a beautiful way to dress up communications, address envelopes, or make announcements.
If you’ve ever made ink, or have anything else to add, please tell us about it in the comments section below!
 This article has been written by Theresa Crouse for Survivopedia.


Pingback:This It The Easy Way To Make Ink At Home | NewZSentinel | April 24, 2016
|
Pingback:10 Ways For Preppers To Use Old Newspapers | Survivopedia | August 14, 2016
|
Lori Parr | January 26, 2018
|
I’m really interested in making my own ink when the shtf but where Will i come up with vinegar?
And the title of your article has a typo
patrick | May 10, 2021
|
You should proofread your own comment before calling a person out on a typo. Your grammar is as bad as your punctuation. And you get vinegar at any grocery store.
patrick | May 10, 2021
|
Typos, you say… Did you bother to proofread your own comment?