


Awaken Your Inner Caveman with Three Primeval Projects
Whether they look like they came out of the movies First Blood and The Hunted, or more like something you may have seen in a museum used by the natives, all that matters is that they work!
Frog Spear
Despite what many manufacturers would like us to believe, lashing a knife to the end of a long stick to make a spear is pretty much fantasy, especially if it’s your only knife in an emergency situation. However, it worked for John Rambo. The reality is that it’s better to use the tools at hand to make a spear and save your knife edge for cutting. Whenever the subject of easily made, effective weapons arises, a frog spear is always at the top of the list.
Making a spear can be as easy as sharpening the end of a stick with a knife and calling it done. This is great if you’re twelve years old. If anyone is a fan of the T.V. show Dual Survival, then you may have seen this type of spear being made by Dave Canterbury. Don’t let the name frog spear fool you or limit its usefulness. Although called a frog spear, it can be equally utilized as a fish spear.
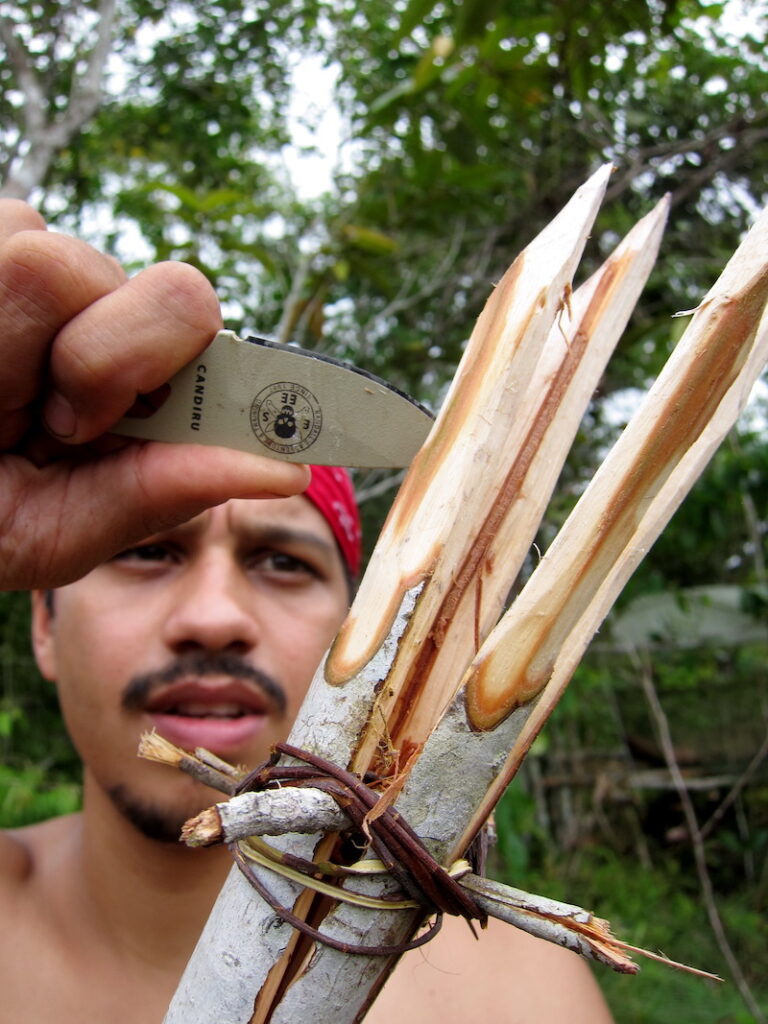
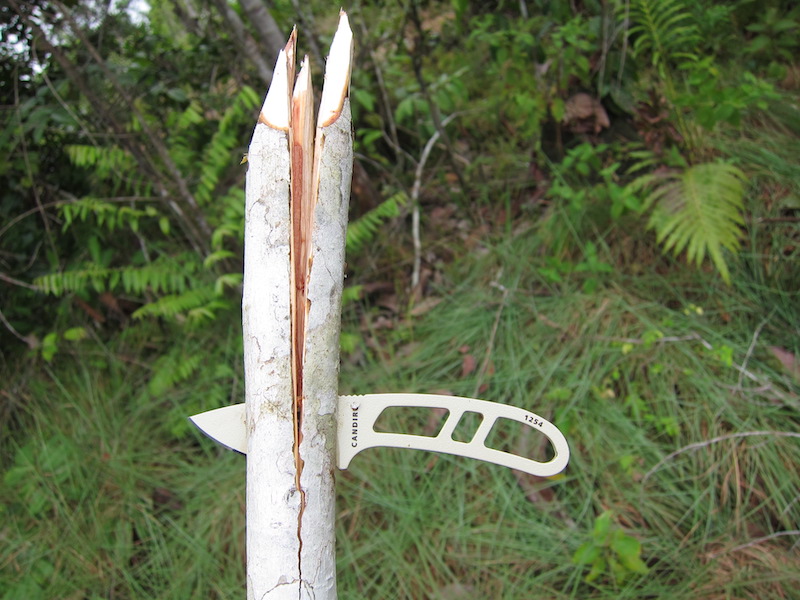
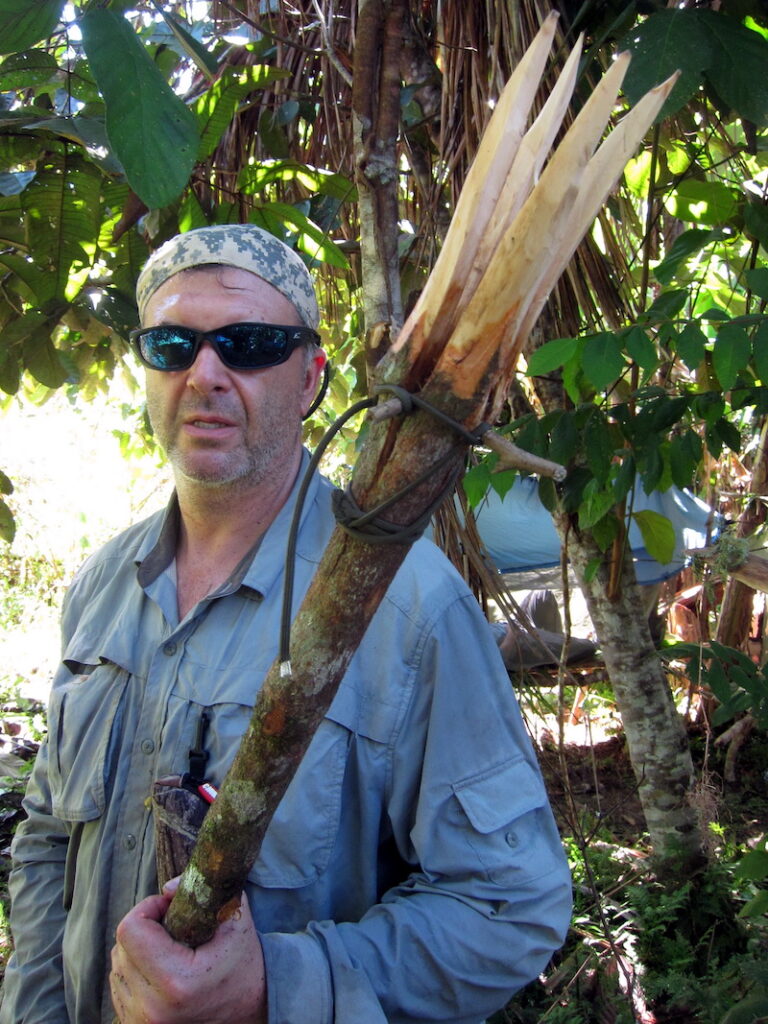
To make this type of spear, only a few things are needed: a sharp knife, some type of cordage (tree roots, vines, bank line, or 550 paracord), and a green sapling. Start by locating a springy, green 6-foot sapling as straight as possible. Do not use dry wood for this project as it could easily crack upon impact with rocks. The sapling could be willow, poplar, wild cherry, dogwood, etc., as long as it is green and under wrist thickness. If a chopping tool such as a machete, tomahawk, or big knife is on hand, use it to make a rough tip by chopping one end of the sapling at a steep angle rather than a straight-on 90-degree cut. If no chopping tool is available, use a baton and a knife to make the rough tip by cross-grain batoning at steep angles. The prongs can be sharpened individually later.
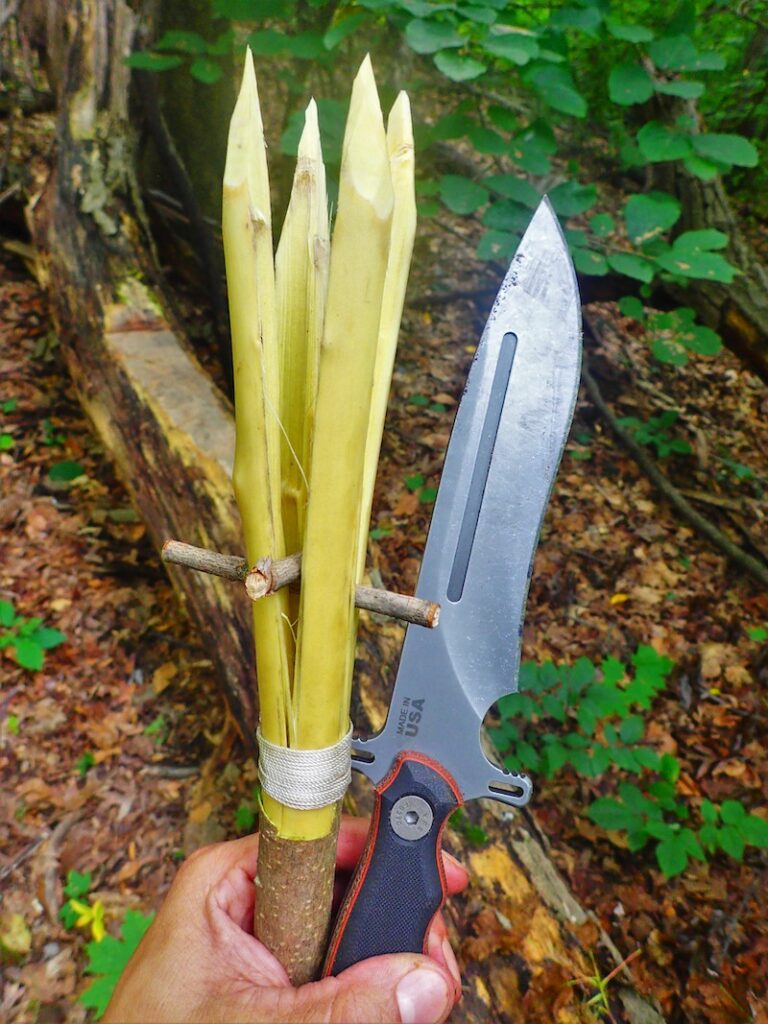
Once a rough tip has been established, stand the spear upright and place the blade of a knife on top of the sapling’s tip, which shouldn’t have a sharp point yet. The idea here is to split the sapling (at the tip) two ways like a plus sign. This will make four pronounced prongs. Make sure the splits are as even as possible and that they go down at least 5 to 7-inches in length. A thin blade on a Swiss Army-type knife works very well and doesn’t split the sapling much like a thicker blade. When splitting via baton with a folding knife, keep the blade half-open(bent) to reduce stress on the joint. A thinner blade will also help when making the initial split and ensure that they are even. The next step is to get two pencil-thick sticks about 2-inches in length. These sticks must be inserted into the two splits by rolling them down using the forefingers and thumbs.
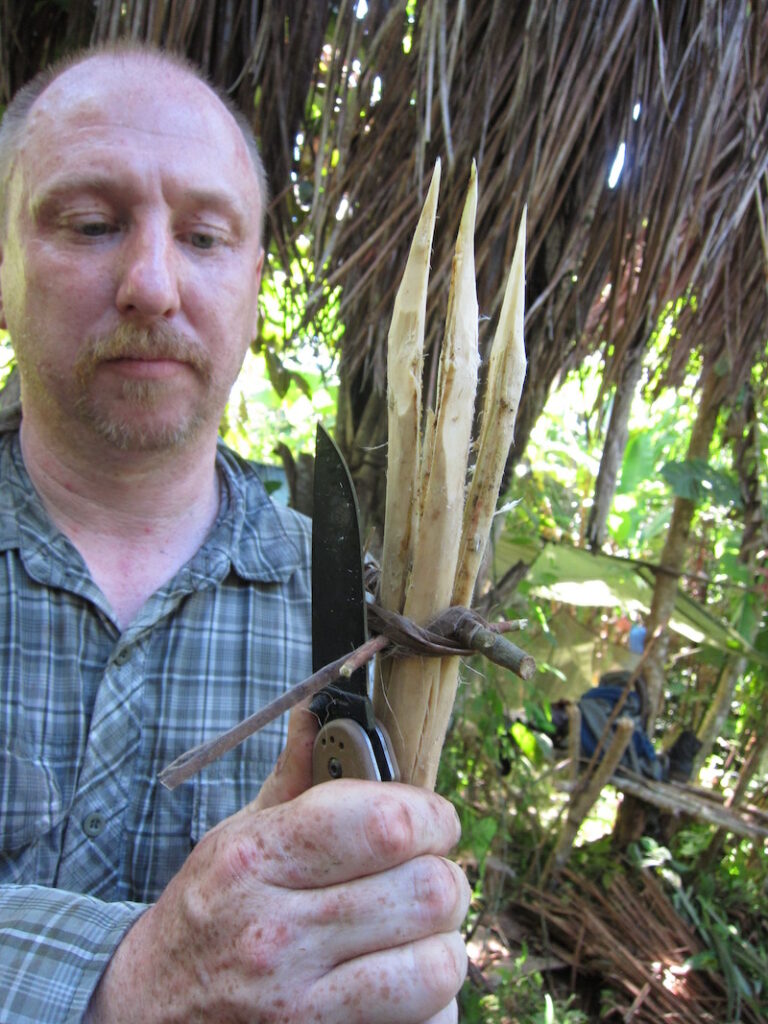
Make sure to do this slowly and not jam them down. Once they are both in place, the four prongs will be splayed out, where they can then be further sharpened. The last thing to do is add some cordage to secure the small green spreader sticks. Wrapping the cordage a few times to keep the sticks in place will suffice. No fancy knots are required. If a vine or tree root is used, a simple twist and tuck will secure it.
The idea behind using a frog spear is not necessarily to impale the frog but to trap it. This way, the prongs won’t rupture the guts, thus tainting the meat. However, one of the prongs entering the head, legs, or feet is acceptable; this is partly why the prongs are splayed out to keep the frog trapped in the middle so it can be retrieved.

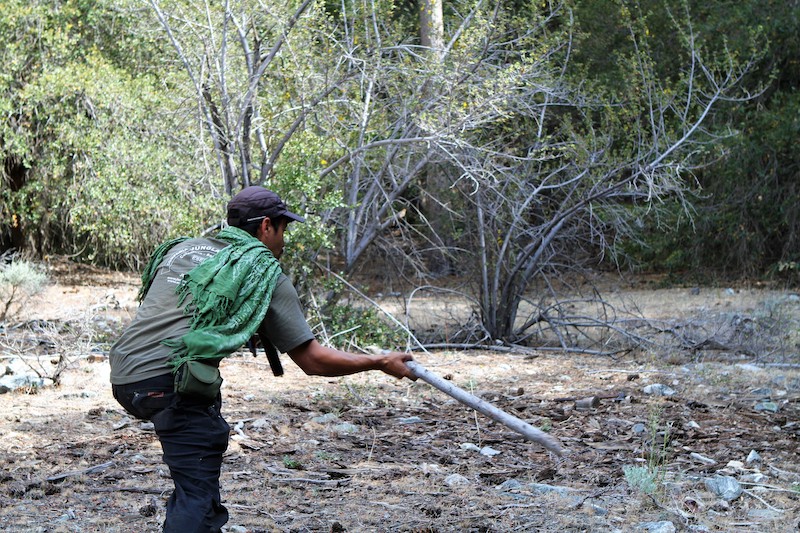
Rabbit Stick
The rabbit stick is possibly the simplest weapon, short of just picking up a rock and chucking it. The rabbit stick has been around just about as long as people have. The idea behind a rabbit stick is to propel a fast-moving object that covers a wider span than a rock or ammo used with a slingshot. This method has been used for hundreds of years throughout the world. Despite its name, rabbit stick, it can be used on many animals besides rabbits like squirrels, marmots, wild chickens, and birds. With enough practice, one could develop the skill to consistently hit a target.
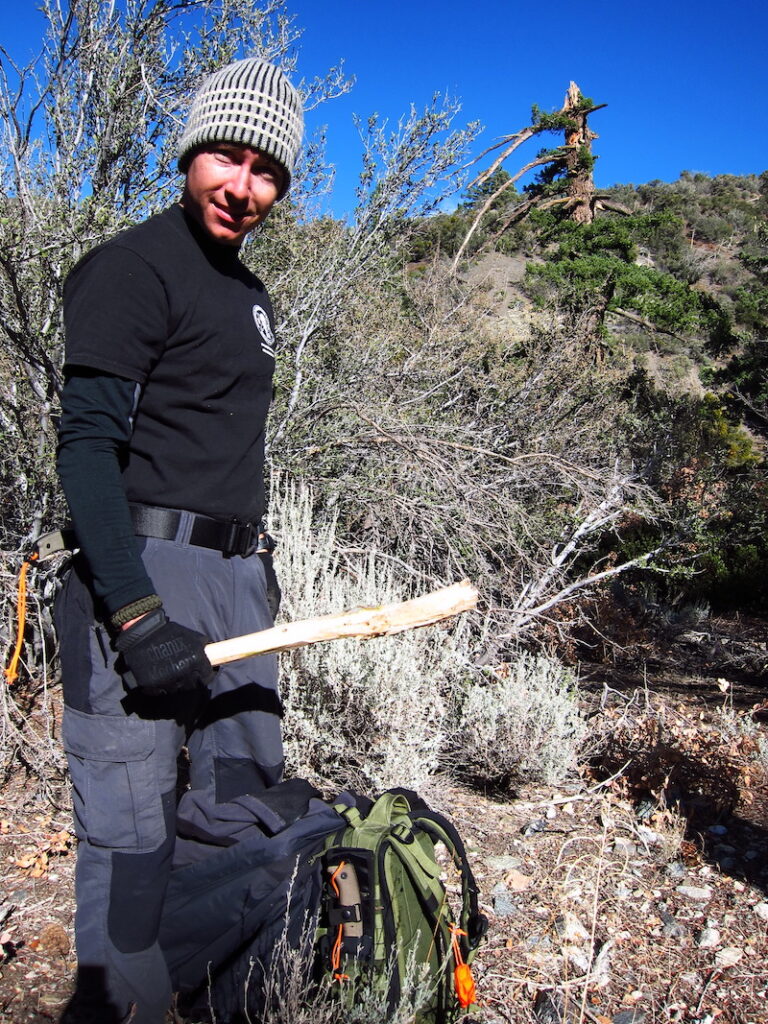
When making a rabbit stick, select a piece of wood about arm’s length from the shoulder to the wrist. I prefer green wood, usually a little thinner than my wrist. Green wood has more weight due to the moisture content. When the wood dries out, it becomes lighter. Dried or rotten wood will most likely crack and shatter after a few throws if it hits rocks or a tree.
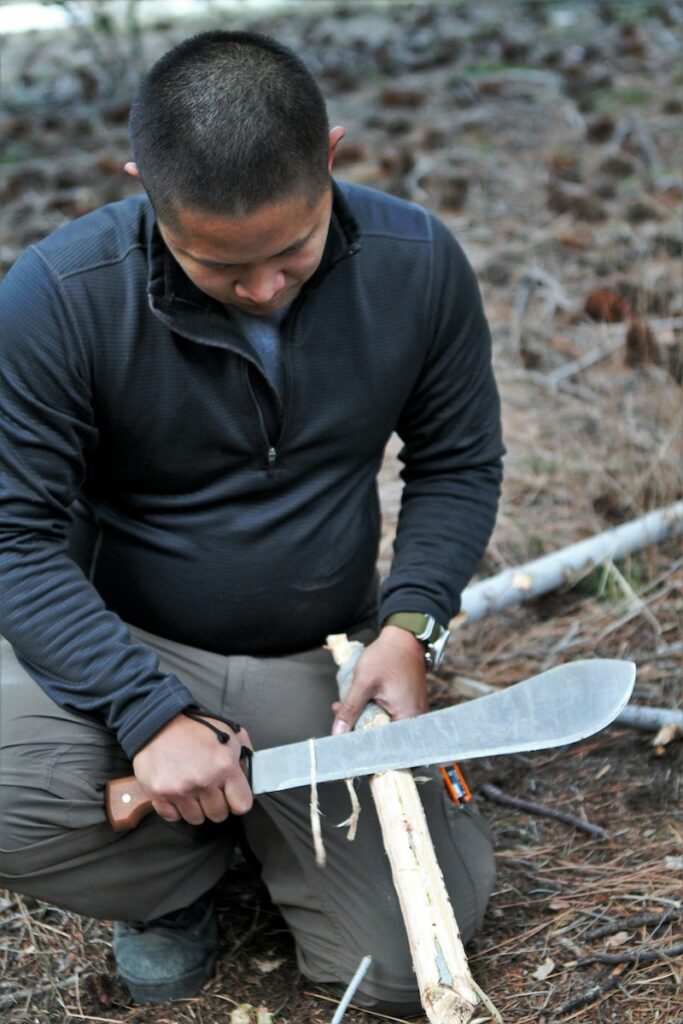
Once the right length and thickness are obtained, start to remove the bark and smooth out any knots where smaller branches once stemmed from. The idea is to make the rabbit stick as aerodynamic as possible. Thick, coarse bark will give the stick an uneven throw, so strip it with a knife or machete. A machete works great for this task because it can pull double duty by stripping the bark and making quick, short chops to even it out. To use a machete for this task, simply prop the length of wood between a standing tree or tree stump and your waist. Use the machete as a draw knife by gripping the handle with your dominant hand and pinching the spine of the machete with your forefinger and thumb on your free hand. Push down while making the cuts or pull towards you in a draw knife fashion to remove the bark.
The rabbit stick is thrown in a sideways motion with a wrist flick. It’s good to crouch a little bit when throwing it to keep the stick as low to the ground as possible. Try it out on cans or water bottles filled with water to mimic the weight of an animal. Without enough force behind the throw, it won’t kill the animal; it will only stun it, which is alright if you have enough time to chase it down and finish it off. Select a heavy enough piece of wood for the project from the start.
Crossbow
I had the chance to attend a jungle survival class in the Philippines taught by the J.E.S.T. (Jungle Environment Survival Training) camp in Subic Bay. Throughout the course, many different types of traps and weapons were shown to procure food and for self-defense. The J.E.S.T. Camp started training the U.S. soldiers before entering the war with Vietnam in the late 1960s, so naturally, jungle warfare tactics were taught.

The bow is fitted in the notch cut into the dried bamboo and secured by thin vines. The lashings must be tight to hold the bow in place while under extreme pressure when set in place. 
Eduardo holds the trip wire that will fire the arrow once it is stepped on or tripped by a person or animal. The bow is fitted in the notch cut into the dried bamboo and secured by thin vines. The lashings must be tight to hold the bow in place while under extreme pressure when set in place. A length of rattan is split into small, thin pieces and formed into a reef. This rattan reef holds the trigger stick in place. A length of rattan is split into small, thin pieces and formed into a reef. This rattan reef holds the trigger stick in place. The crossbow is set up with a trigger stick in place, ready to shoot.
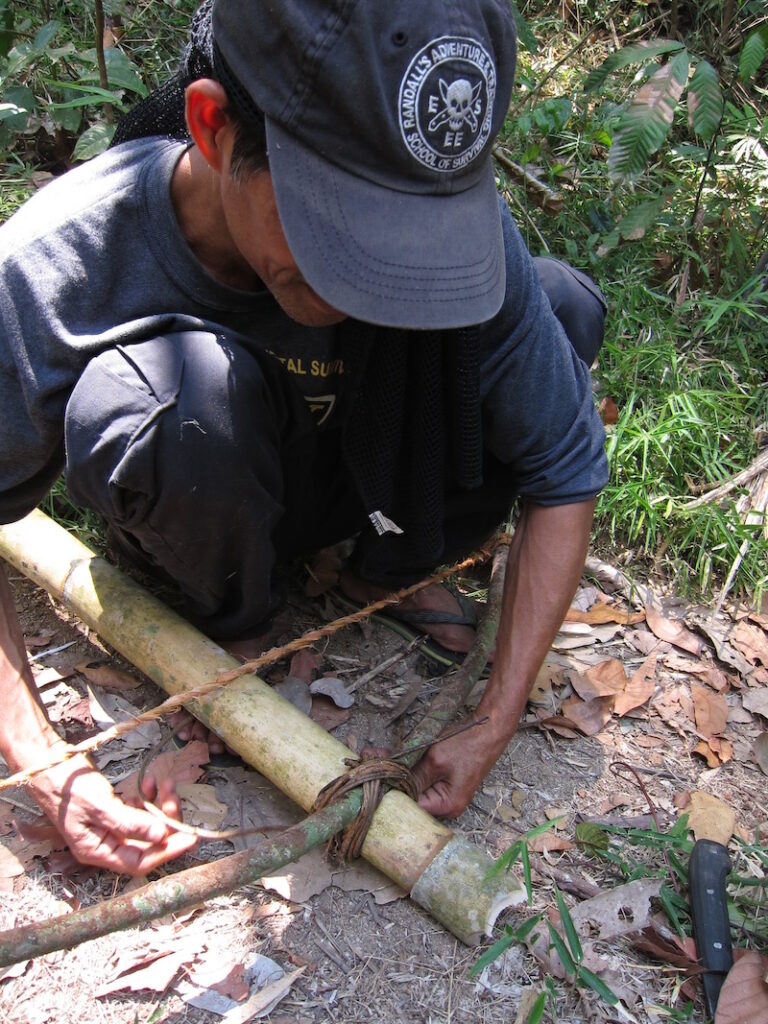

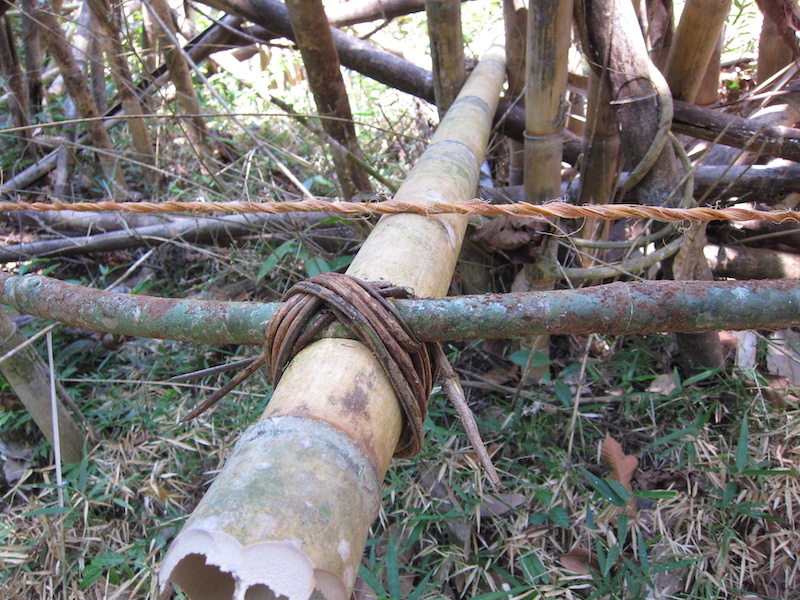
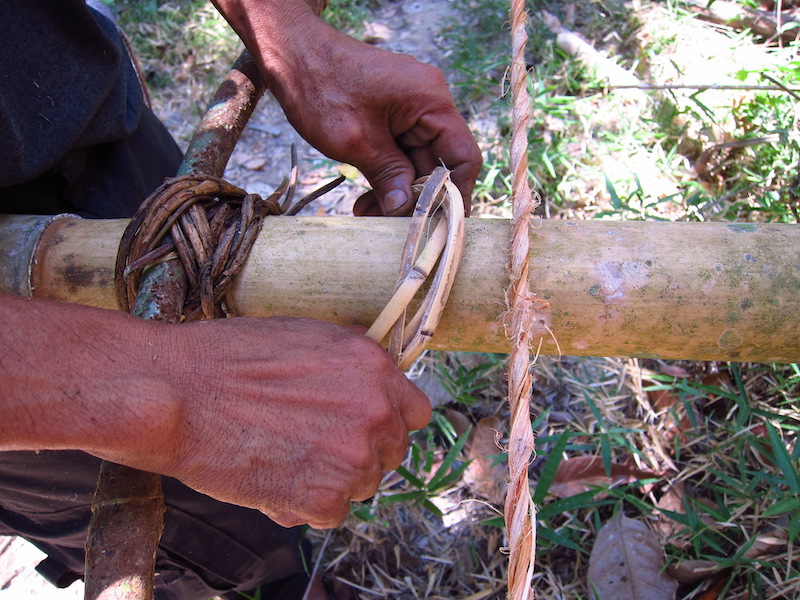
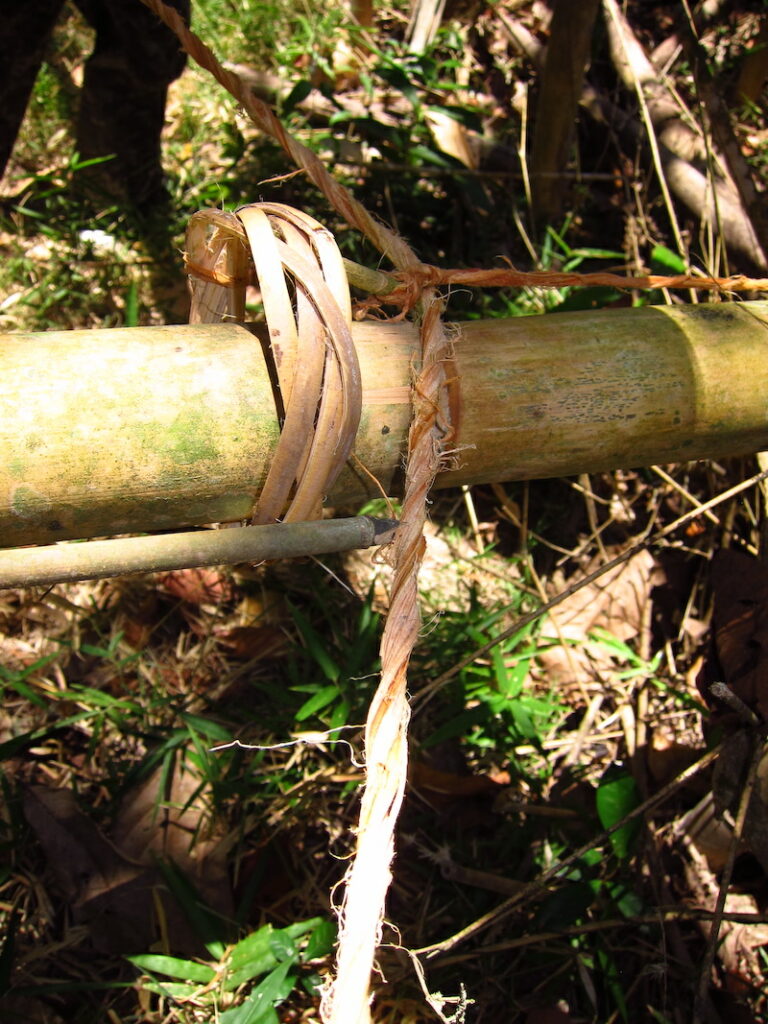
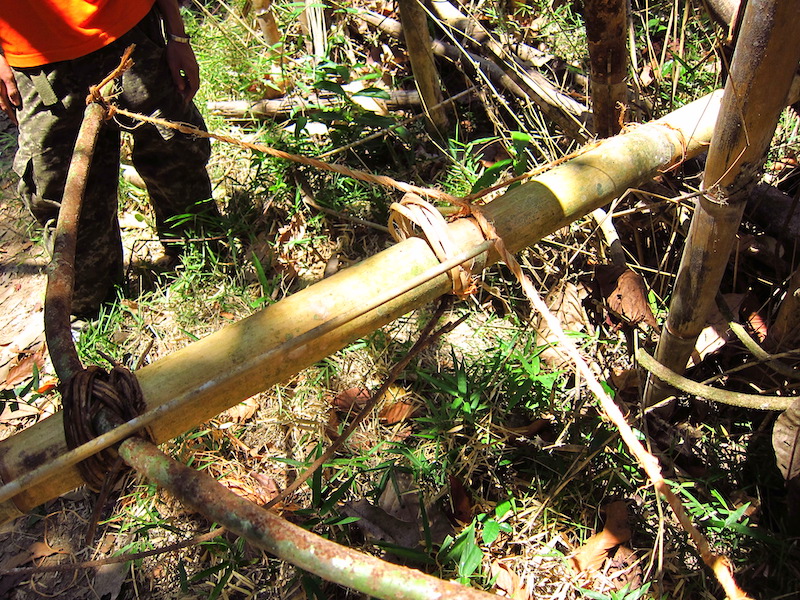
One weapon that stood out to me was a crossbow that could be used from a firing position or set up with a tripwire. This weapon could be used on wild boar and people alike. It was first shown to me while walking on a trail in the jungle. My guide, Eduardo, stopped, put his pack down, and walked a few yards into the bush. Without a word, he began selecting the right vines and saplings for the project and never, at any time, said what he was making. Once the right vine was located, we used our bolo knives to split it into long, thin strips for making cordage. The bow was made from a sapling just between 4 ½-5-feet long. It also had to be green and flexible, slightly under wrist thickness. The bow was fixed to a larger, thicker piece of dried bamboo (about bicep thick) by chopping a notch for the bow to fit perpendicular to the length of the bamboo. Once that was done, the bow was put into the notch and held securely into place by thin vines. The lashings must be tight as they will be under great pressure when set up. When the bow was fixed to the length of bamboo, a shorter length of cordage or vine was used to attach the toggle stick to hold the bowstring under tension. The small toggle stick was held between a length of rattan weaved together, forming a reef-like shape and the bowstring’s tension. It was triggered by a person or animal stepping on the trip wire or trip vine. The arrow was a straight length of dried bamboo that was sharpened to a super sharp point, sharp enough to penetrate the thick skin of a boar or a soldier’s B.D.U. pants.
Practice
Primitive weapons have been shadowed by modern guns, bows, tomahawks, and slingshots. Like all things about survival, one must practice making primitive weapons and using them. Hopefully, this will help keep the spirit of primitive weapons alive!
Disclaimer: The content of this book is for informational purposes only and is not intended to diagnose, treat, cure, or prevent any condition or disease. You understand that this book is not intended as a substitute for consultation with a licensed practitioner. Please consult with your own physician or healthcare specialist regarding the suggestions and recommendations made in this book. The use of this book implies your acceptance of this disclaimer. The publisher and the author make no guarantees concerning the level of success you may experience by following the advice and strategies contained in this book, and you accept the risk that results will differ for each individual.


