


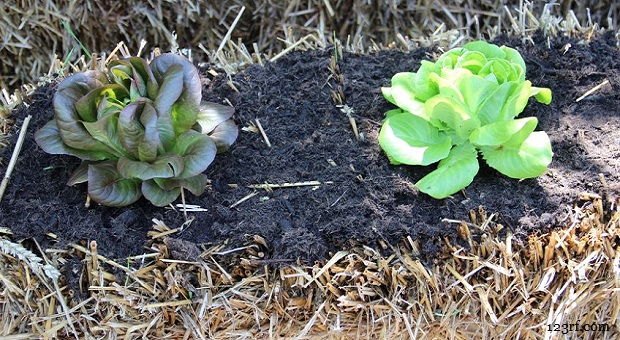
Straw bale gardening is becoming a pretty big deal in some circles for several reasons. It’s essentially a form of container gardening, except the “container” is the bale of straw.
For those of you who don’t know, bales of straw are held together with two pieces of twine wrapped around it endways.
The gist of it is that you condition the bales, that is, you ready it for planting, then you put the plants in it. The straw does a couple of things.
First, it acts as an organic fertilizer, and it also gives the roots of the plant something to anchor to as they grow.
These Are The Ingenious Recipes That Helped Our Ancestors Stay Alive!
9 Reasons to Keep in Mind
Now, why is this such a good idea for survival and homesteading? Great question. Let’s take a closer look.
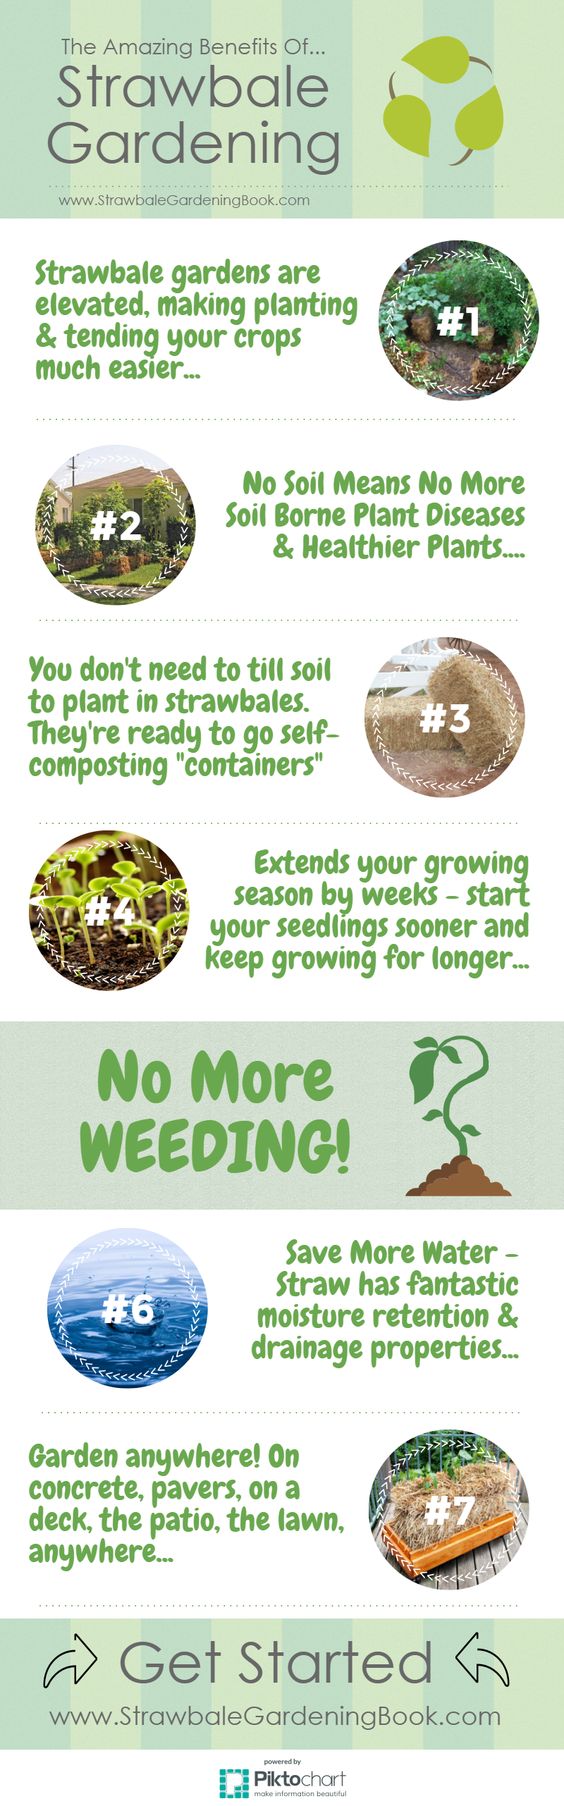
You Can Do Straw Bale Gardening Anywhere
Just like most container gardening, you can make a straw bale garden anywhere. Even if you live somewhere that has extremes in temperature or poor soil, (or rocks!) this method makes things easier.
Also, because it’s breaking down and decomposing inside of the bale, there’s going to be a certain amount of heat so even if you have a little bit of cold weather, your roots aren’t going to freeze as quickly as they would if they were in dirt. It’s probably not much of a difference but it’s something.
Great Growing Medium
If you listen to fans of straw gardening, they’ll tell you the little hollow tubes of straw are designed by nature to wick up and hold moisture and the decomposing straw inside creates a rich environment to nourish the vegetable plants.
You can set it up anywhere that gets 6-8 hours of sun and since the bales heat up quicker than soil, it’s great for growing in colder climates with short growing seasons because the warmth stimulates early root growth.
Portability
This is an area where straw bale gardening falls a bit short compared to other types of container gardening such as 5-gallon buckets.
If you plant it on the ground, that’s pretty much where you’re going to have to leave it because once the bale starts to decompose, it will fall apart when you pick it up. If you put it on a pallet or plant it in a decorative wheelbarrow, you’ll be able to move it, but not if you just plant it as-is.
Space
Compared to other types of container gardening, straw bale gardening is efficient because it maximized the use of space. Whereas you may only be able to put one or two plants in a pot, you can easily do three or four, depending on what you’re planting and the size of the bale, in a bale of straw. Plus, you can set it up anywhere that gets 6-8 hours of sun.
Versatility
Another advantage of straw bale gardening is that you can configure it as a small, single-bale mini-garden or you can put bales together and make it similar to a raised bed. Since you have that option, you can stack it a couple of bales high if you have problems bending over so that you won’t have to risk falling or getting stuck.
Cost
If you live near a farm, chances are good that you’ll be able to get straw for less than $10/bale even if you live in an area where prices are crazy high. Here in Florida, a bale goes for $8 or so. I have friends in WV that pay $5/bale for it.
Hint: If the place has a few bales that are loose or started to break open, you may even get it for free, or next to nothing. If you handle them with kid gloves on your way home until you get them into position, they’ll be just fine. Even if you pay full price, that’s cheaper than the same amount of planting soil.
Effort
Have you ever built a raised bed? I have, and trust me: although I consider it well worth the effort because it’s beautiful, it was also a back-breaking, PITA project that cost quite a bit of money to get started, even doing things one the cheap.
There was the initial building, then we had to tote the bags of soil and mix it one bag at a time with the sand, which we had to dig and transfer, then of course there was the planting.
In comparison to bags of soil and digging sand, carrying a few bales of straw was nothing. Even a compact, heavy bale of straw is only going to weigh around 50 pounds, and most of them are half that.
Plus, you can roll it most of the way so that you don’t have to do much, if any, lifting after you get it out of the truck. And there is no framework to build. Oh, and it’s cheap.
Easy Preparation and Planting
You can’t just use a bale of straw as-is. You have to condition the bales for a couple of weeks in order to get the decomposition process started. To do this, it’s easiest to buy your straw when it’s most readily available – in the fall. Then let it sit all winter and come spring, it will be conditioned.
If you don’t have that kind of time and you just bought it so that you can grow something this season, you still need to let it condition for at least a couple of weeks. That’s okay though, because you need to start your plants and get them to seedlings anyway so just get your straw when you get your seeds.
Or, if you’re buying the plants, well, make two trips – one for the straw and another a couple of weeks later for the plants!
Conditioning
This is a critical step. You can’t skip it. Put your bales where you want them because after day 1, they’re going to be too heavy to move. Once they’re situated, soak them with water and do this once a day for the first three days.
On days 4, 5, and 6, you’ll still water, but you’ll also add one cup of ammonium sulfate (12-0-0) or half a cup of urea (46-0-0). These are nitrogen-rich fertilizers that will help the bales start to decompose and will also make a rich growing medium.
On days 7, 8, and 9, cut the fertilizer back to half of what you were using and continue to water the bale after adding the fertilizer.
On day 10, stop adding fertilizer, but keep watering so that it stays moist. On the 11th day, check the bale and if it feels warm to the touch – about the same temperature as your hand – then it’s ready to use. If it feels hotter than that, give it another day, and keep checking it until the temperature has dropped to where it should be. Then it’s ready to plant.
Hay vs. Straw
Though they’re both in bales and look extremely similar to an untrained eye, hay and straw are not the same.
Hay is cut grasses and grains made to feed horses, cows, and other livestock. It has seeds in it and will gladly start growing new grass and grain wherever you plant it. It may also have briars in it. Obviously, that’s a bad thing.
Straw, on the other hand, is a by-product of the wheat industry and doesn’t have seeds or briars. It’s made for mulching.
As you can see, straw-bale gardening is a great alternative to planting in the ground or even to using raised beds or containers. If you’re looking for a great growing medium that costs very little money, is convenient, and won’t take up much space, then this method is for you!
It’s an easy way to become self-sufficient and give up relying on bought foods that harm you and your family!

Have you planted in straw bales or have any advice to offer? If so, please share with us in the comments section below!
This article has been written by Theresa Crouse for Survivopedia.


I experimented with this planting method for two years. The first year was with just four bales and tomato plants. The plants grew well and I Got a decent yield with not too many problems. The second year I invested $50 into 10 bales and twice that into plants. For some reason the bales became a breeding ground for slugs and they ruined the tomatoes as fast as they developed. I ended up with zero good tomatoes out of that huge investment and won’t be doing it again.
this idea is great BUT it is also a great place for copper head snakes to build a home in. I tried this several years ago and when I started to break up the bail of straw, there were several homes for copper head snakes along with the snake eggs. just be careful when taking the straw bales apart.
I don”t ever use chemicals on my garden, Would a fish emulsion or compost tea with a lot of manure in it work as well to condition the bales? Sorry about the caps–something just happened to my computer. Must figure it out, but want to get this to you
I cannot wait to try this
Hi there, Great tips by the way and thank you. I did have a question though.
I’m hoping you can answer it for me since you seem to be
pretty knowledgeable about gardening. Will a DIY vinegar
herbicide affect soil acidity? I have a garden bed that I want
to use herbacide on but I don’t want to ruin the soil.
If you had some insight I would greatly appreciate it.
This was super helpful and easy to follow. Get instant NYT Strands hints and NYT Strands answers right here!