


With the current pandemic affecting our entire nation, we preppers must learn how to survive without depending on others.
After all, the essence of emergency preparedness is to become independent and self-sufficient.
Going to the grocery store has become a dangerous activity, and we must respect the social distancing recommendations in order to avoid catching the new coronavirus. If you are a prepper, you undoubtedly have a few months’ worth of emergency food storage. However, knowing and replacing staples in the kitchen without having to go to the store is an equal survival skill required for long-term survival and self-sufficiency.

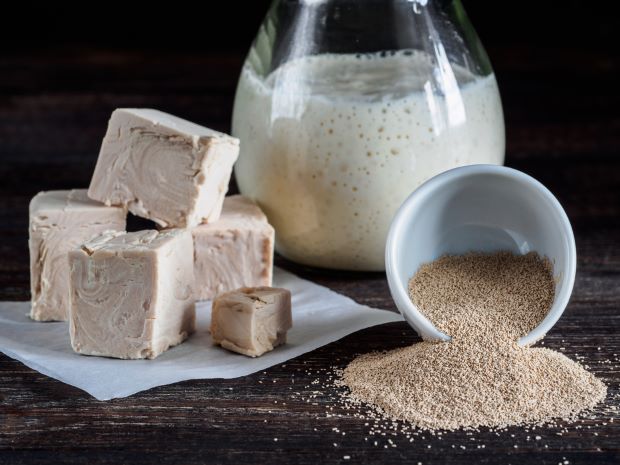
The downside of long-term survival and bread making is having to make your own yeast and keeping active yeast on hand at all times. Commercial yeast has a shelf life of 2 years, and once you open it, you must store it in a cool and dry space. What can we do when the yeast we bought no longer can be used?
How to make your own yeast
If a trip to the store is out of the question and if you plan to hunker down for a long, and you’re craving that heavenly hot loaf of bread or those golden biscuits, what can you do? The only thing you can, and should do, is to make your own yeast or baking yeast substitute (if you will).
There are various ways you can make your own yeast, and you don’t have to be an experienced baker to succeed. Based on what you have stored in your survival pantry, you can choose the best recipe listed in this article, the one that fits your needs.
Fruit yeast
Ingredients:
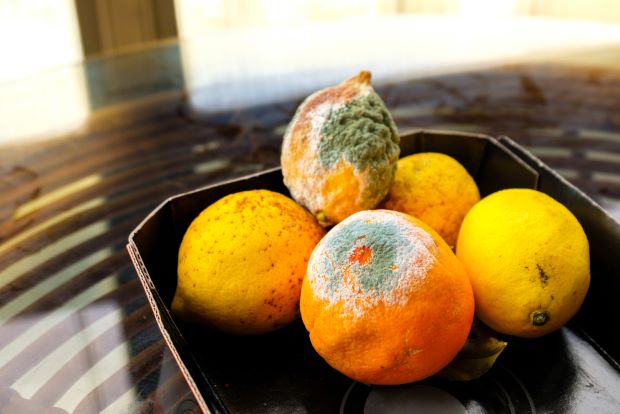
- Grapes or other fruits (such as apples, oranges, and raisins, just to name a few). There are many types of fruits that enclose natural yeast spores in the skin or peel of the fruit.
- Water. I recommend filtered or bottled water since tap water can have a too high chlorine content that will eventually kill the yeast.
- 1 cup of whole wheat flour
- Glass jar (32oz or larger)
- Cheesecloth
Instructions:
1. You can use a bunch of grapes, but you have to avoid washing the grapes since you will wash off the yeast you are trying to save and grow. Start by steaming the grapes.
2. Crush the grapes by hand and place them in the glass jar.
3. Cover the jar with cheesecloth and leave it undisturbed for three days.
4. Check on it from time to time and observe if the liquid starts bubbling. If that occurs, it means that your yeast is growing.
5. Strain the liquid and stir in 1 cup with the whole wheat flour
6. Leave your grape yeast at room temperature for at least 24 hours
7. Save one cup of the mixture, then add one cup of flour and a cup of water. Do this for two days. By day three, you should have a very bubbly starter.
8. Keep feeding it from time to time to have some ready at hand for your next baking experiments.
You can experiment with various types of fruit because each starter you make from the fruits will have a different flavor. There are people using even tomatoes, and you need to find which one works for you. The advice I can give you is to use homegrown, or even better, wild fruits since these are not covered with pesticides or wax, like the store-bought ones.
Sourdough starter
Ingredients:
- Water (filtered or bottled)
- Flour. You can use any type of flour you want, but I found out that whole-wheat flour works best.
- Glass jar (32oz or larger) with lid
Instructions:
1. On day one, place ¼ cup of warm water and 6 tablespoons of flour in the glass jar (make sure the jar is clean). It’ better to do this in the morning so that you can check on your starter twelve hours later.
2. Stir the flour in the water and cover the jar with the lid.
3. Place the jar in a warm area, and after 12 hours, check the starter for signs of bubbles. Just like any other starter, you may notice only one or two bubbles at first.
4. If you don’t notice any bubbles, you can add another ¼ cup of water and 6 tablespoons of flour. Make sure you mix the starter properly.
5. On day two, check the jar in the morning, and you should see signs of bubbling. Feed the starter with another ¼ cup of water and 6 tablespoons of flour. Make sure you also scrape the sides of the jar so that everything is evenly mixed.
6. Feed the starters again after 12 hours.
7. On day three, remove half of the starter from the jar to avoid it outgrowing your jar.
8. Since the discarded starter is not strong enough to be used, you can discard it in your compost bin.
9. Feed the starter following the same rules as before and feed it again after 12 hours.
10. On days four through seven, the same routine goes on as you did in days one through three, stir and feed your starter in the morning and in the evening. However, you will need to remover some starter from time to time, as there may not be enough room in the jar for it to grow.
11. At the end of the week, you should see a lot of bubbling, and the yeast should be rising faster than it did in the first days.
12. Once the starter is established, you can store it in the fridge if you don’t plan to cook with it for a few days. To keep it active, you can feed it twice a day using a 1/8 cup of water and 3 tablespoons of flour twice a day. To keep it in dormant, feed it only twice per week
Potatoes yeast
Since preppers and homesteaders are growing potatoes in various types of containers, you should have some at hand all the time. The starch in potatoes is ideal for making yeast, and this method is the most popular around the world.
Ingredients:
- 1 Average size potato
- 1 teaspoon salt
- 1 teaspoon sugar
- 4 cups of water
- 1-quart glass jar
Instructions:
1. Use a soft brush to rinse the potato to remove dirt and other impurities. Don’t scrub too much as you may peel away the skin containing the yeast.
2. Cut the potato into a few pieces and boil it until cooked through.
3. Drain the water into a container and save it for later use.
4. Mash the potato and add the sugar and salt while doing so.
5. Allow the mashed potato to cool at room temperature.
6. Add the saved water to the potato mash until the mixture equals one quart and place it in the jar.
7. Cover the jar and place it in a warm place.
8. Let the mixture sit and ferment for up to 7 days. With each day you should notice more and more bubbly activity.
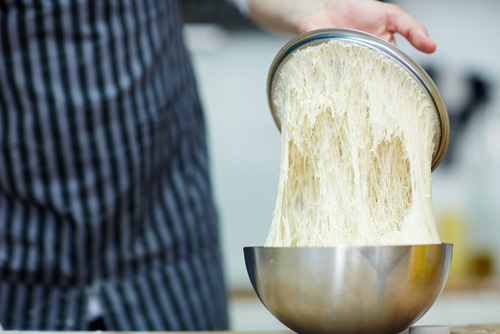
How to store your yeast
Making yeast at home is not complicated, and the main challenge, in my opinion, is to store it properly and transport it. If you want to have some yeast ready at all times, you have to dry some and store it for later use. Here is how to do it properly.
If you made any of the starters listed in this article, or if you made some using your own recipe, take it and spread it very thinly on a cookie sheet or baking stone. Dehydrate the starter as you will do with any other food.
For those living in a hot and arid climate, you can cover the cookie sheet with cheesecloth and let it sit in the sun.
If you plan on using an oven to dry the yeast, make sure you put it on the lowest temperature. Avoid cooking it as you will kill the yeast and end up with a useless powder. Even better, use a food dehydrator if you have one.
Once the yeast is dried (using one of the methods listed above), you can crumble it and store it in airtight containers. Once packed, you can store it in the fridge or freezer, just like any store-bought yeast.
How to proof-test your yeast
Some folks have trouble figuring out if their yeast (homemade or store-bought) is still usable after storing it for a few months. Testing the yeast is quite easy, and here are the steps to follow:
1. Dissolve one teaspoon of sugar in half a cup of warm water. You can use tap or bottled water. The best temperature to work it I found it to be between 110°F and 120°F. The best way to figure out if you got the right temperature is to use your cooking thermometer.
2. Stir in the water your dry yeast (homemade or commercial). One ¼ oz. packet of commercial yeast and two teaspoons for your dried homemade yeast are the recommended quantities.
3. Wait for at least 5 minutes and observe if the yeast wakes up and starts to rise.
4. After 10 minutes, the mixture should have a foamy/bubbly top. If that’s the case, your yeast can be used successfully for baking since you now have active yeast.
Note: To tell if your yeast has risen enough to be considered good enough for baking, use a measuring cup to test it. If the foam of the yeast reaches the top of the cup, you can use it for your baking purposes. If that’s not the case, throw it away and test another batch.
Concluding
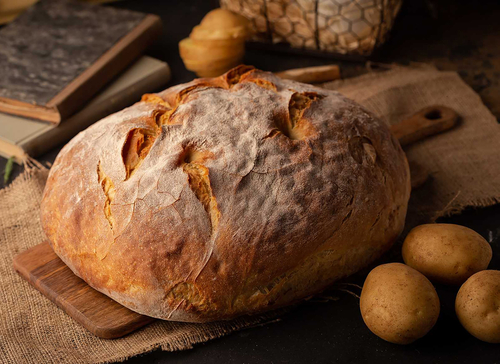
Making your yeast is recommended if a trip to the store is not planned in your near future. Making your own will provide you with an alternative just as good as the store-bought yeast. Learn to make it at home and play with the various recipes.
You may notice that you might have to use more of your dried yeast for the same amount of bread you are used to making with commercial bough-yeast, but that shouldn’t be a problem. Nothing compares to the smell of fresh-baked bread, and you won’t have to suppress your cravings if you learn to make yeast at home.


It’s difficult finding a heterosexual partner now aday. Have you given thought to offering personal ad’s for like minded people that see there’s a problem brewing on the horizon?
That was brilliant, Bob, thank you very much – information I really wanted, including storing it and proof-testing it! Tho’ I wondered with the Potato Yeast – I would have expected the boiling to kill the yeast, no?
This is very helpful, I was going to try and make some sourdough starter and bread this week. And I wasn’t sure if the store bought yeast i had was still any good. It’s Articles like this is the reason why I go to website and books for pepper’s and homesteading.
great!
good info
Great info ! Have yeast that might be to old ,Or maybe ,I I will be able to still use it One question if you have made potato yeast and have not kept it active only feeding it twice a week , if you feed it again on a Monday can you make bread the day you feed it !Thanks for the info !
Thanks, this is great info! Proofing yeast is actually growing more yeast. So a peep could grow a 5gal bucket from a poorly performing proofing.